Putting it All Together
November 10, 2025
Once the quilt is pieced, there is a sense of excitement in preparing to put it all together. When I refer to “quilting” the top, I am talking about layering
the three parts and sewing them together in a way that is both functional and beautiful. The three layers are the quilt top, the batting, and the quilt back.
There are two types of quilting: hand quilting and machine quilting. We’ll talk about hand quilting in this blog, and machine quilting in the next one.
Hand quilting is exactly what it says: sewing through all three layers by hand. I love hand quilting and for a few years, that was nearly all I did. To hand
quilt, I spread the backing fabric (first layer) across the dining room table, then place the batting on top of it (second layer). Lastly, I spread the quilt
top on top. I clamp the layers to the table to keep it from shifting. In order to hold all three layers together while I manipulate the quilt, I safety pin the
layers together, pinning about every three inches across the entirety of the quilt. Sometimes this requires moving the quilt several times depending on its
size. Note that you may want to put something hard over your wood table if you do this. Steve has been quite tolerant of what I have done to the dining room
table, but I often feel guilty about the many scratches on its surface!
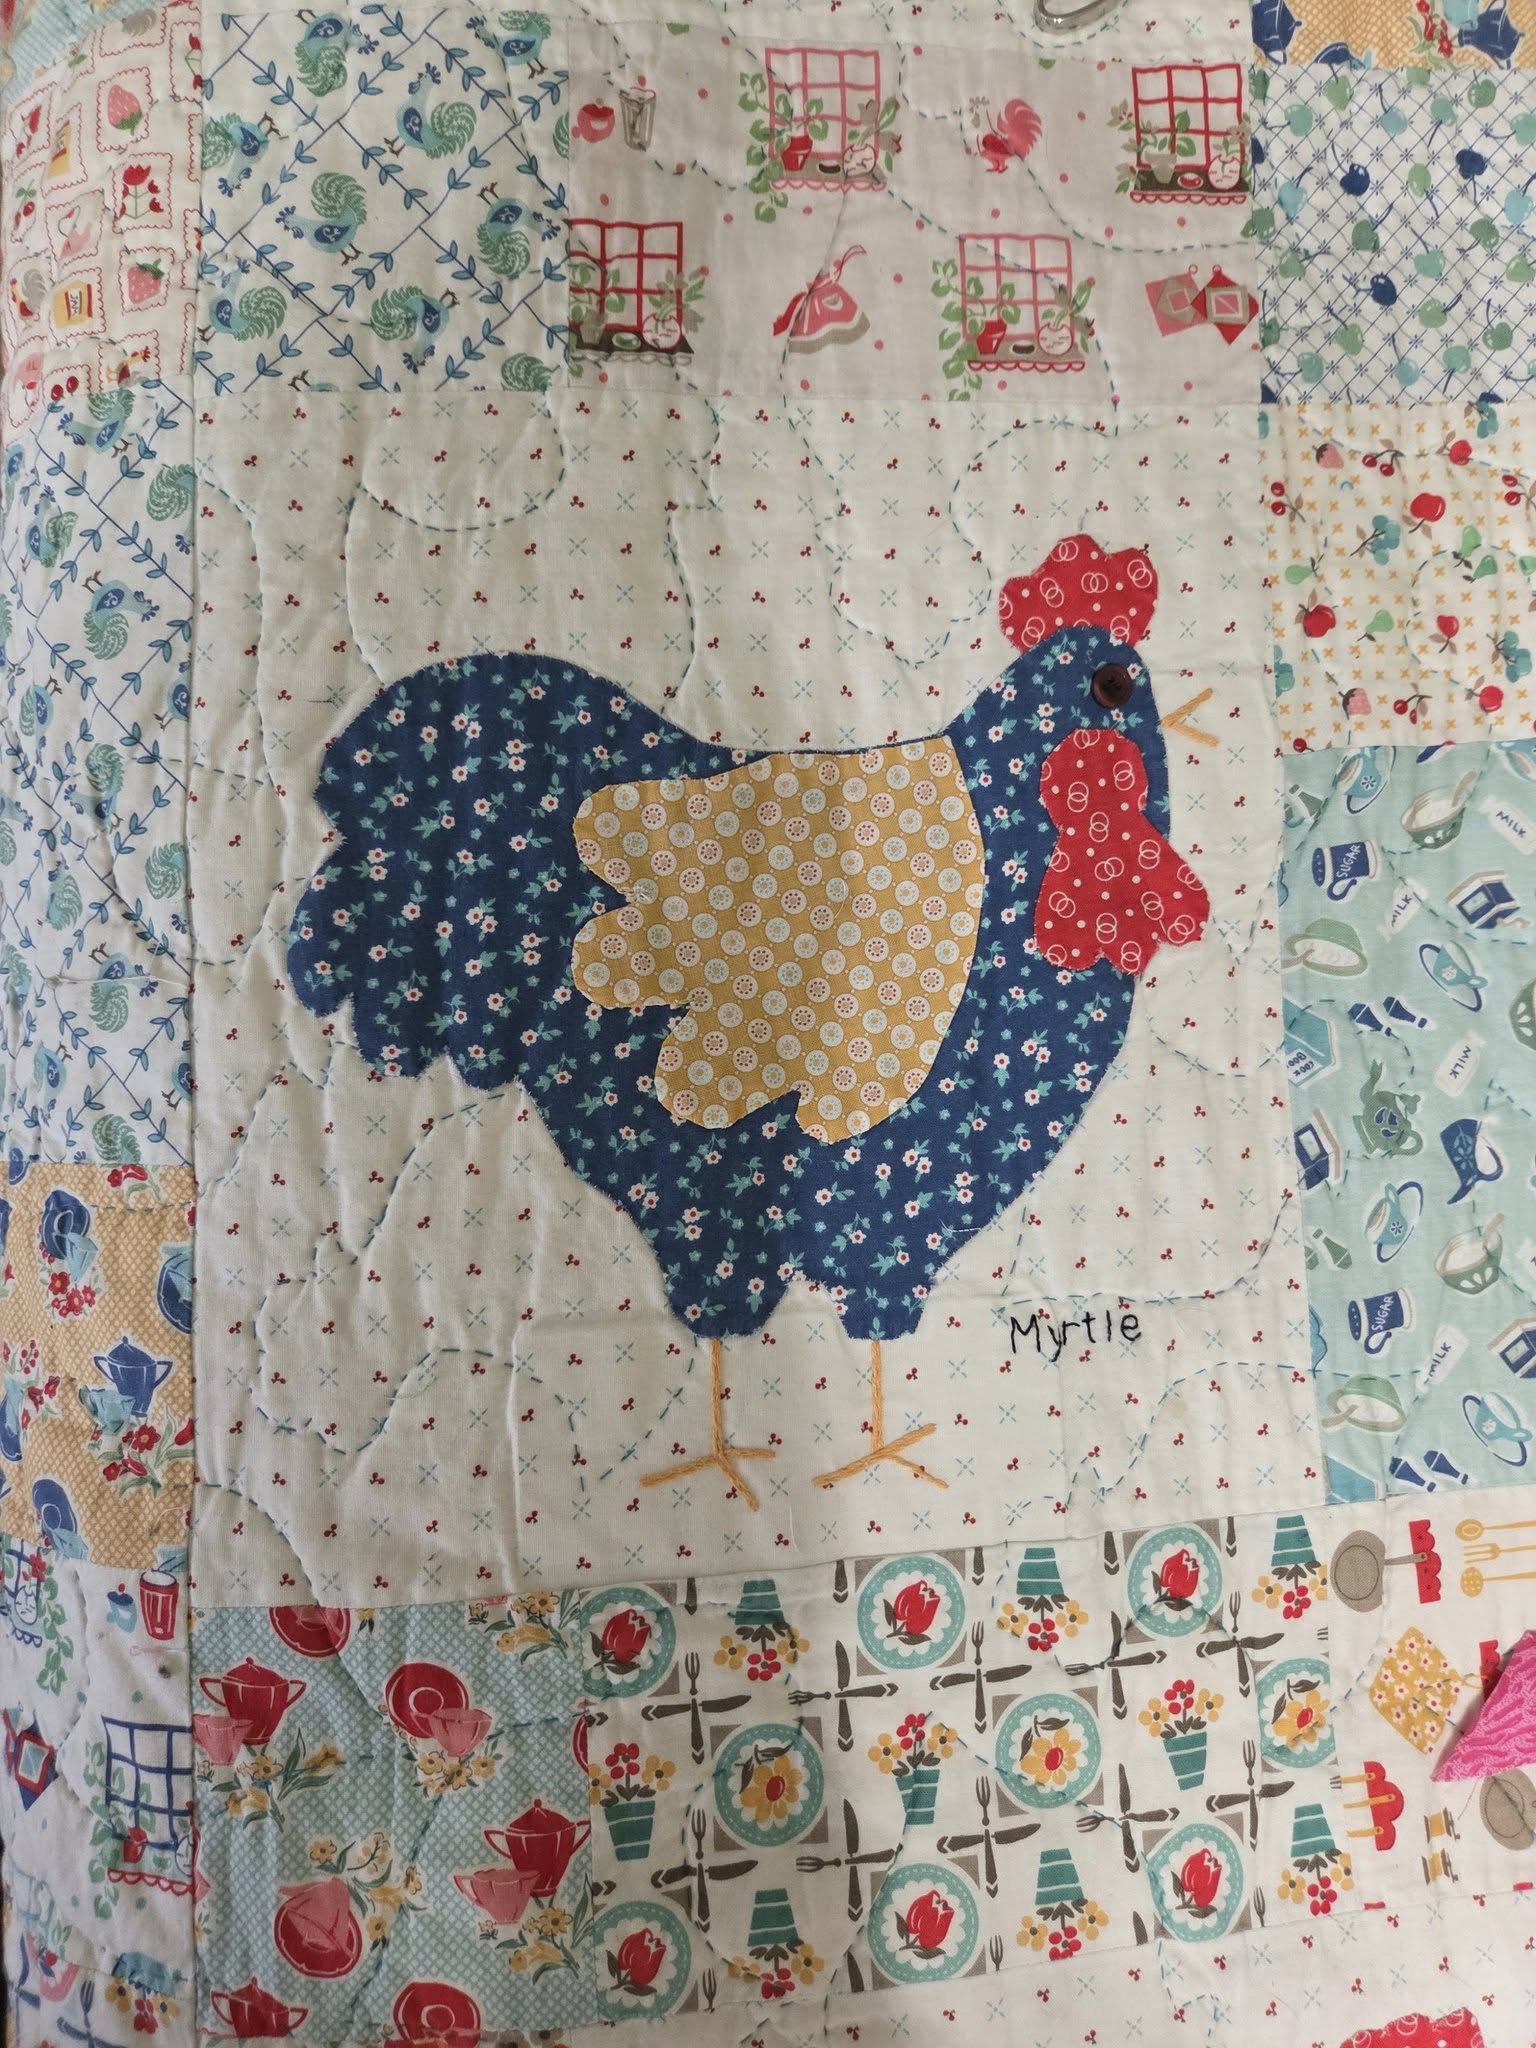
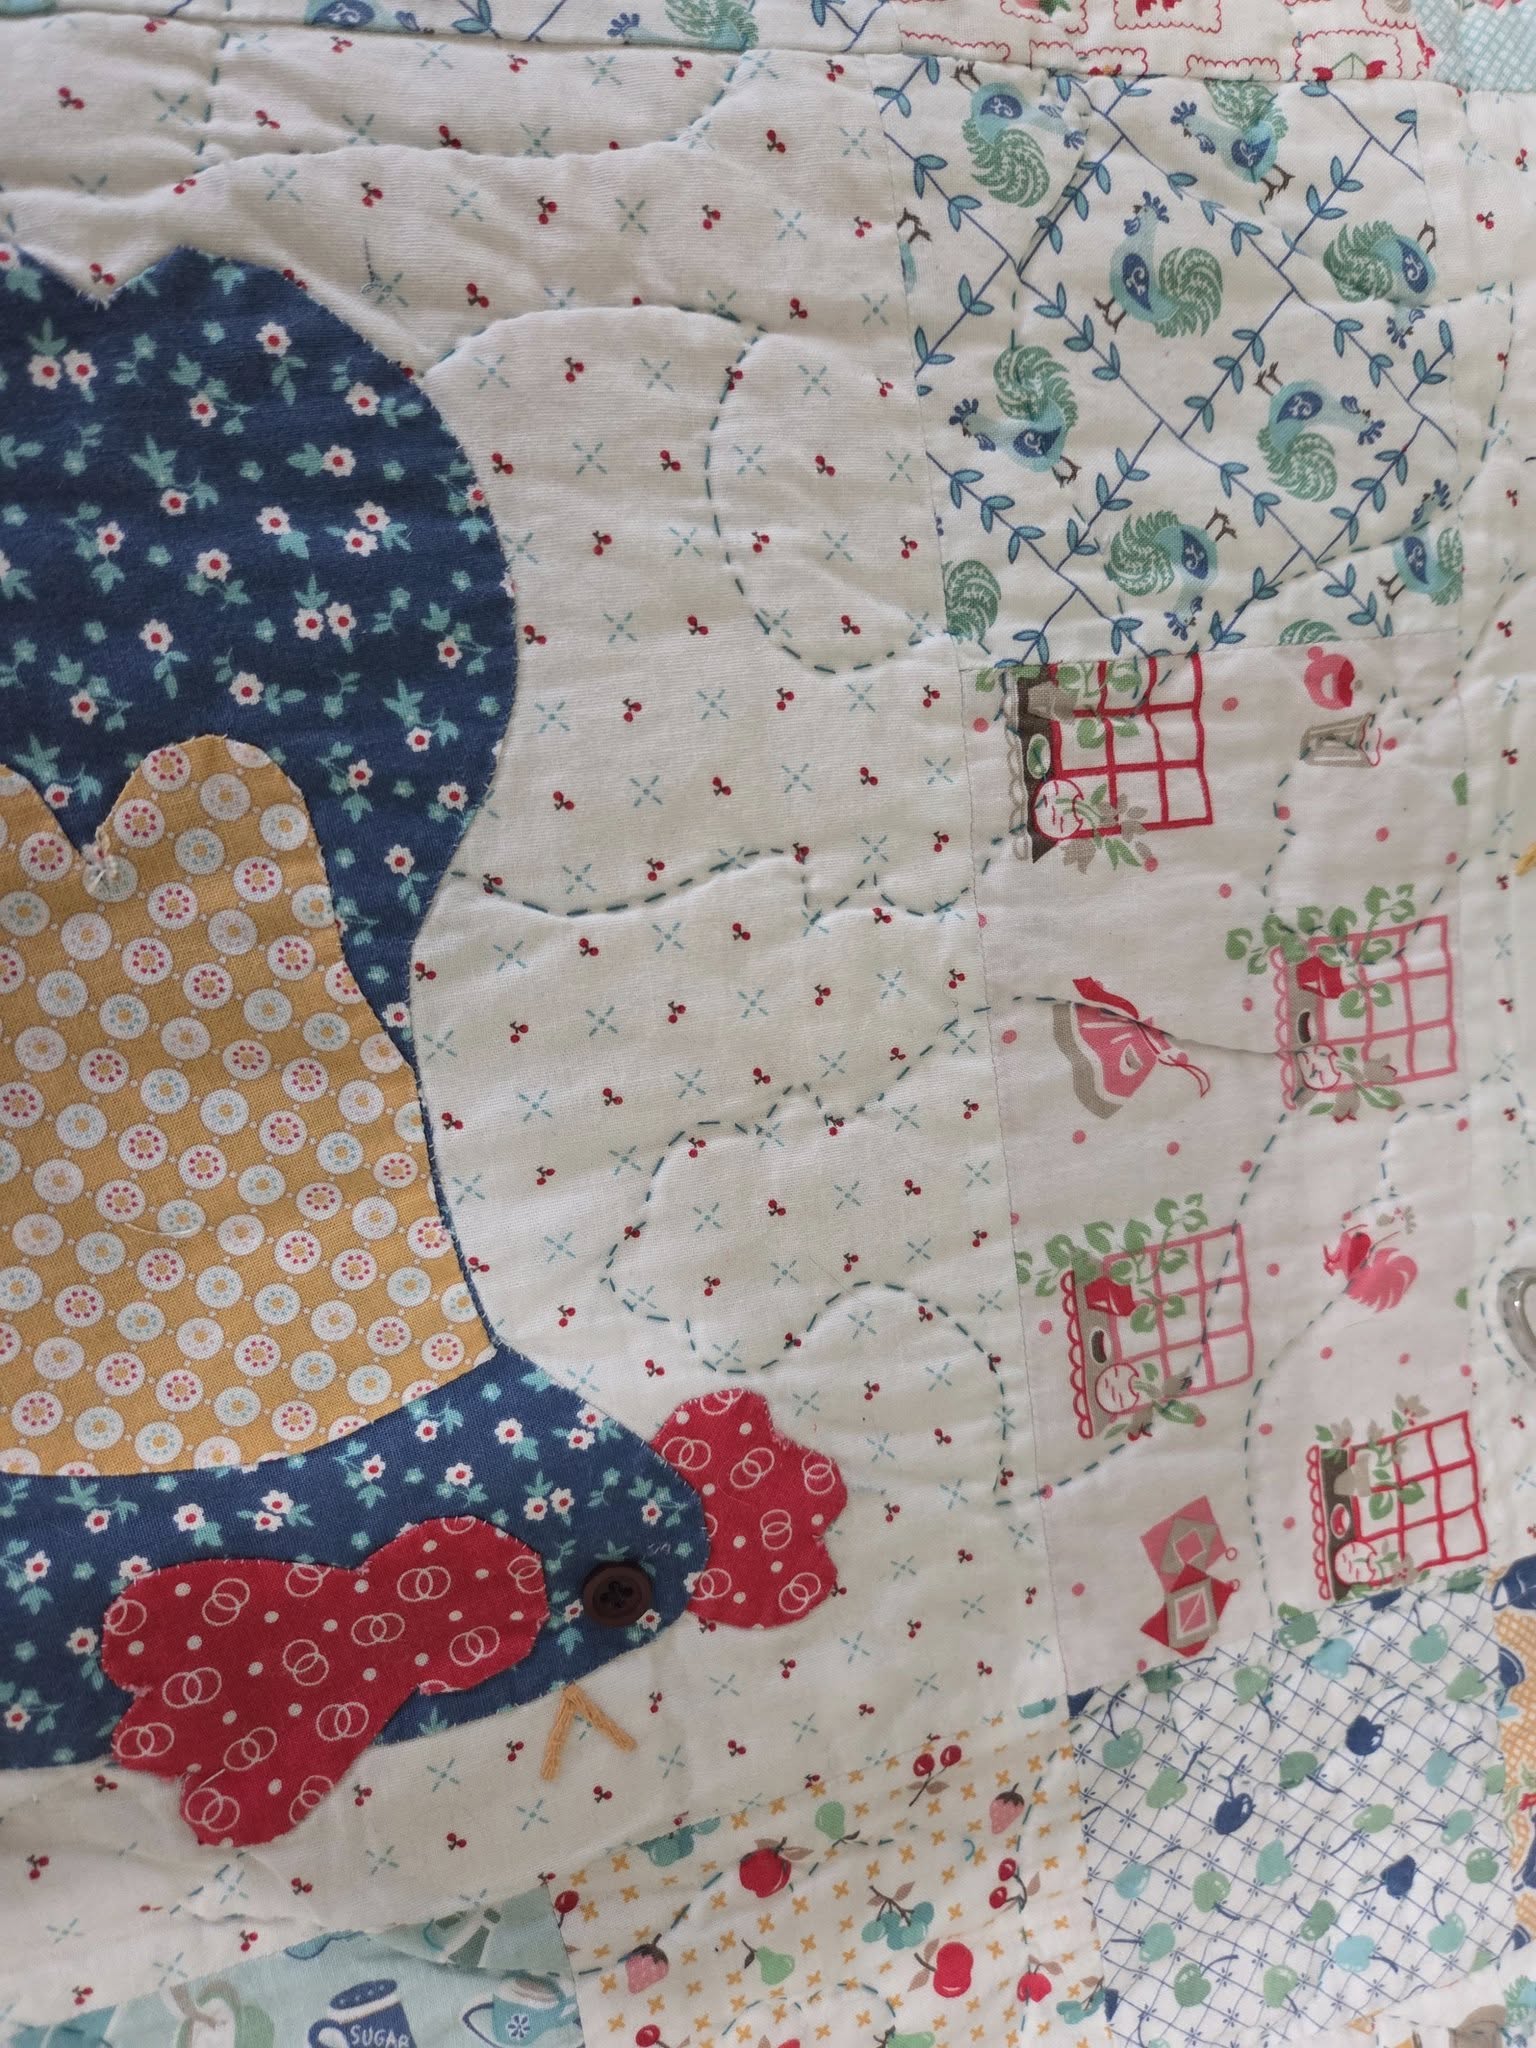
The final step before actually starting to hand stitch the quilt is determining what pattern you want to sew. I have sewn baseball shapes, chickens,
hummingbirds, flowers, butterflies, mice, balls of yarn, rainbows, and fish. It is fun to personalize the quilt in this way, however, anything you want to sew
has to be drawn on first and it can be time consuming. I sometimes have a tendency to forget that everything I draw must then be hand stitched, which will take
even longer than the drawing! Once, I traced a very detailed floral pattern on a quilt which took about 8 hours. When I finished, I realized that it would take
me the rest of my life to quilt it and erased it all.
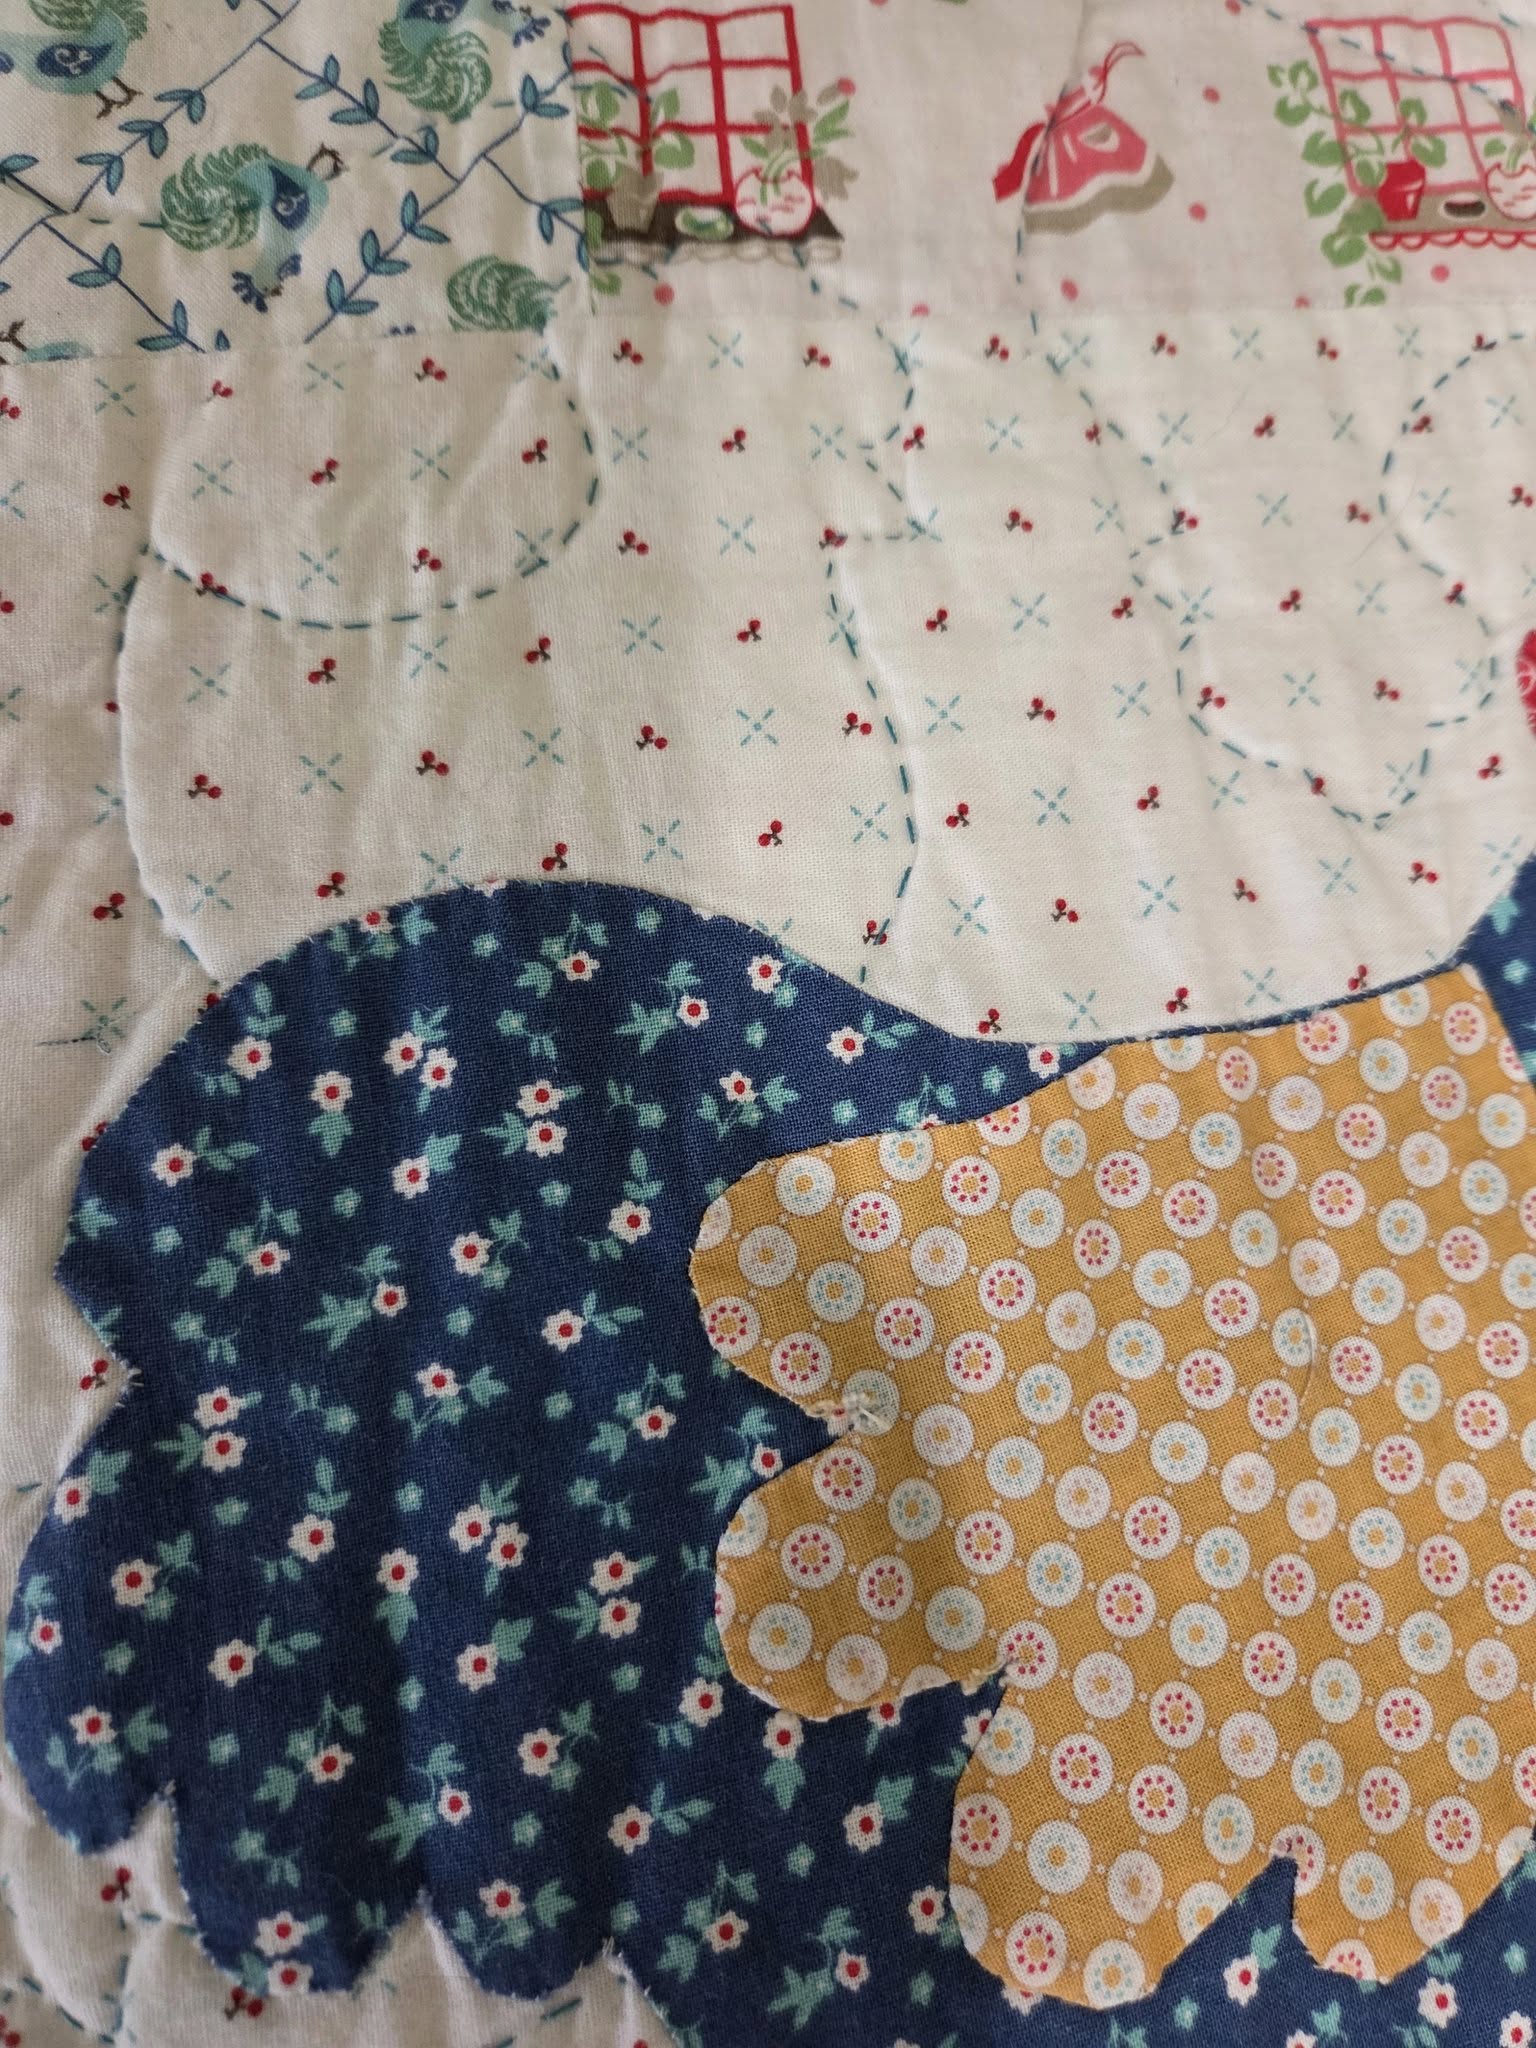
There are lots of things that you can use to transfer your design. I have the most success with heat erasable markers. I also keep a chalk pencil for when I
have to draw over dark colors. I use a template for specific shapes. There is a strong plastic material available in many quilt shops on which I draw the
shape, for example a chicken, cut it out, then trace around it over and over until it has covered the entire quilt. The ink erases easily when I’m done with
the sweep of a hot iron. Often, I simply free hand meandering lines all over the surface of the quilt.
Once you’ve finished drawing your pattern, it’s time to get out the needle and thread. Hand quilting thread is stronger than regular thread. I like to use wax
coated thread because it moves through the fabric smoothly and with minimal tangle. There are different methods of hand quilting. Some use a large frame, while
others use a hoop. I tried using a hoop and was not very successful. The method that works best for me is to hold the quilt in my lap and fold it between my
hands like an oven mit. Each quilter has to find the method that works best for them, but there are lots of good YouTube videos that can help you navigate the
different methods.
If you don’t like handwork, you probably won’t like hand quilting. It is time consuming but is great for helping me stay awake in the evening since I tend to
fall asleep unless I’m working on something. I love the process and find it soothing. I’ve gotten quite fast at it, relatively speaking, but even so, depending
on how detailed the pattern is, it can take up to 3 months to finish a twin sized quilt. That’s three months of 2 + hours every night.
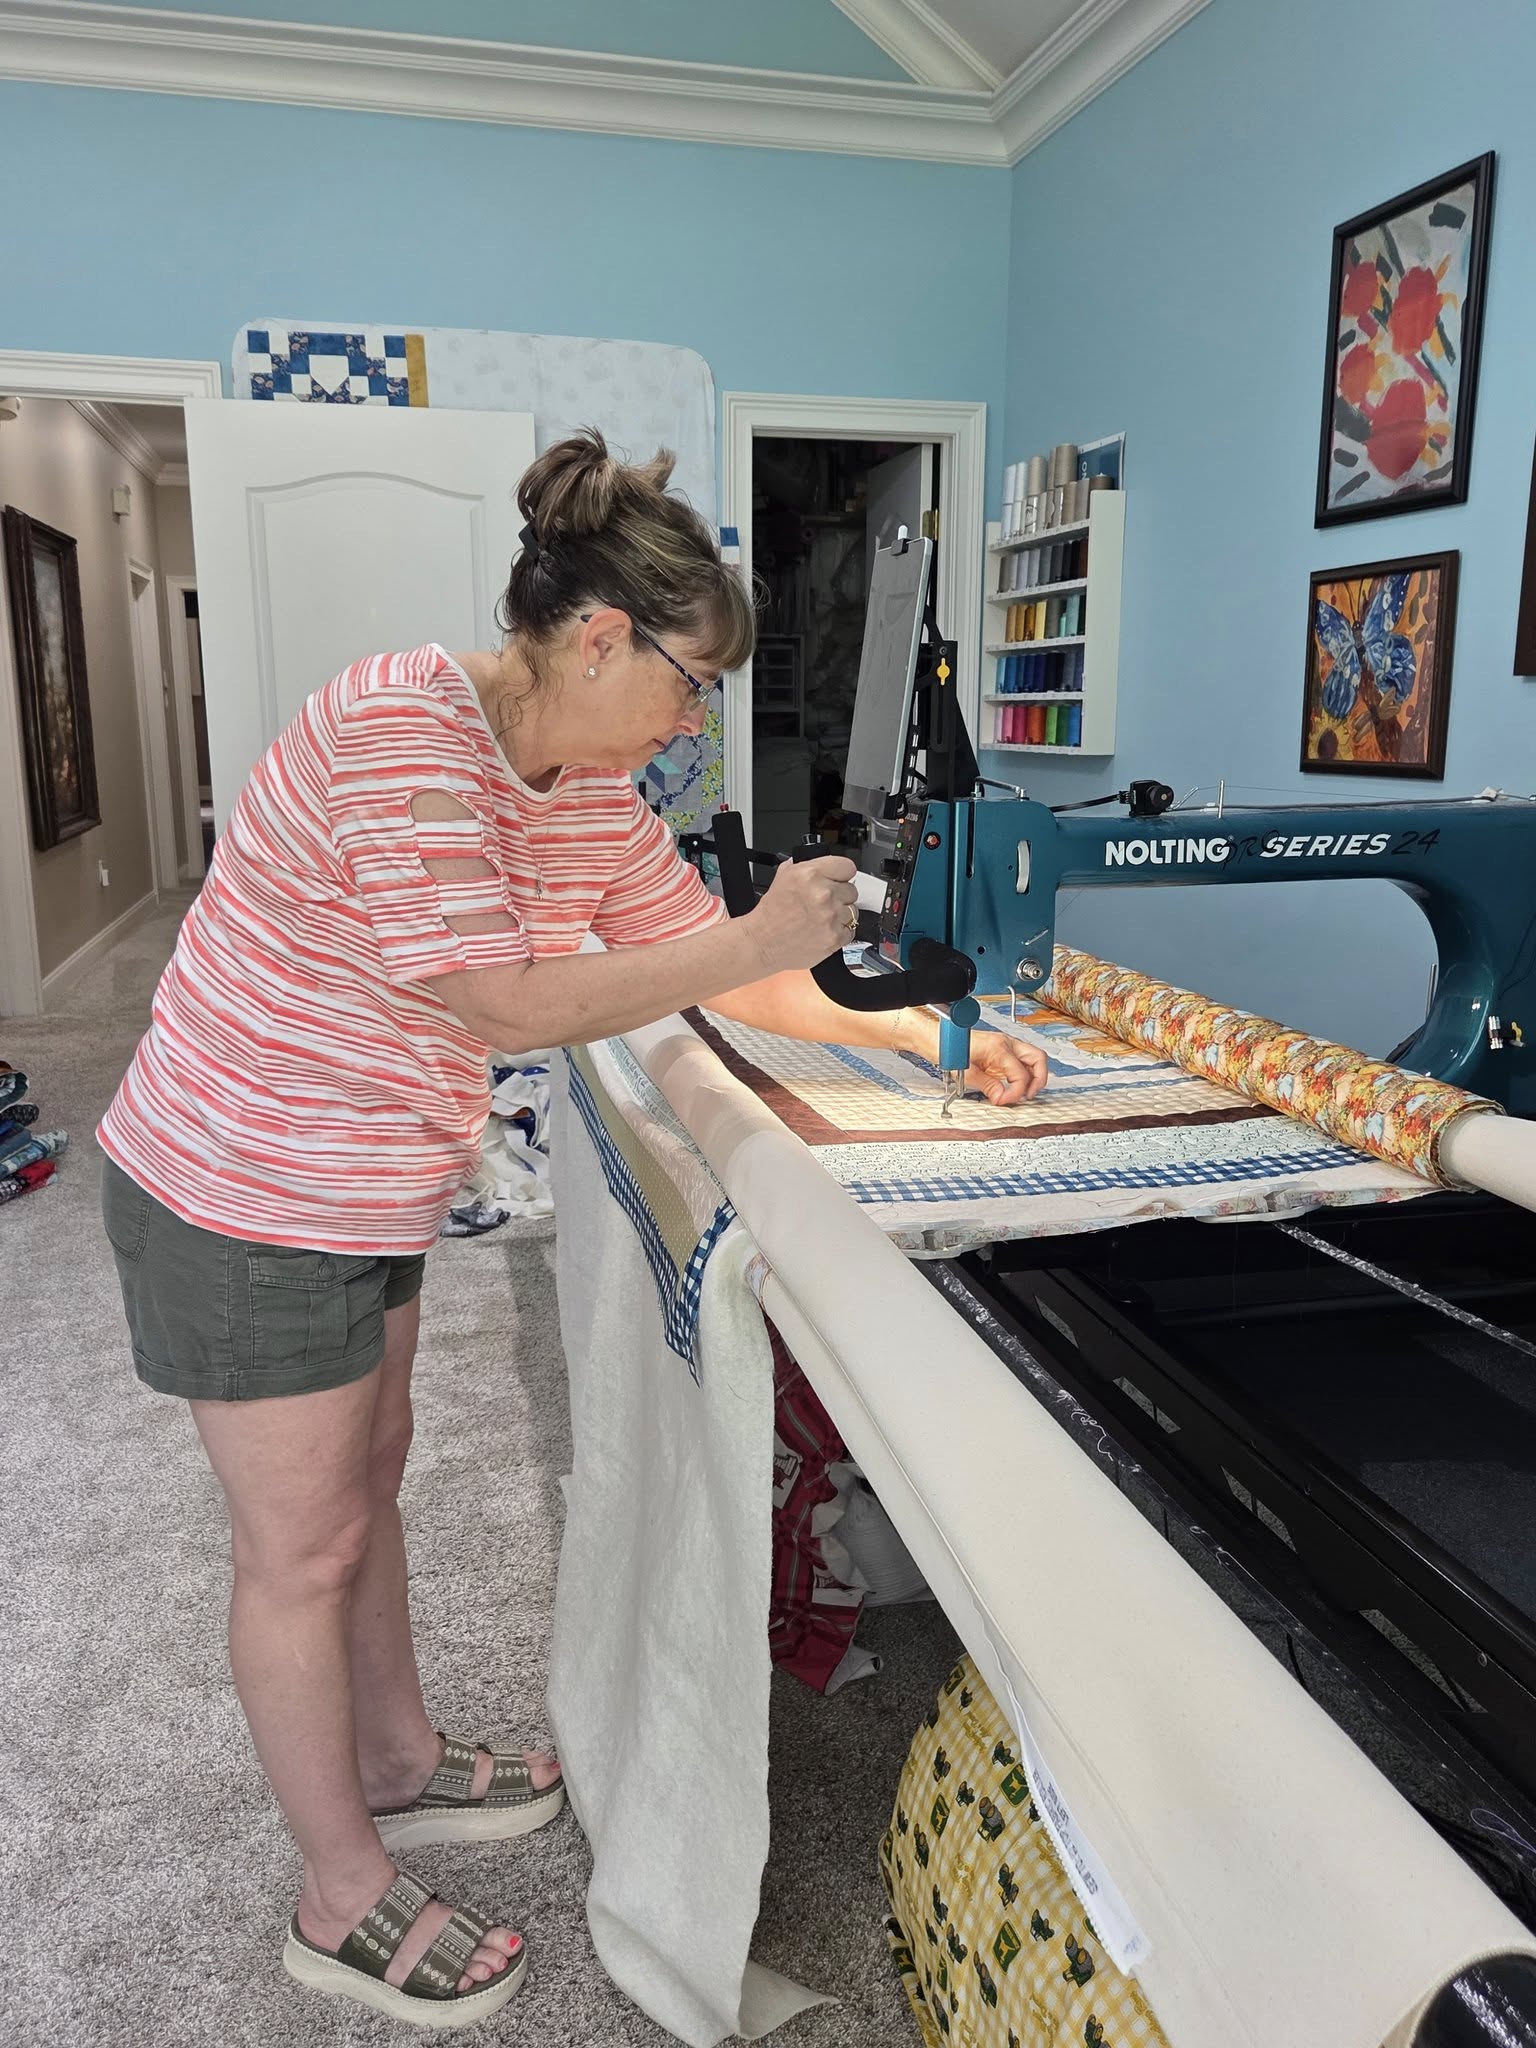
For me, hand quilting is truly satisfying, however it is not very time efficient. At one point I had 18 quilt tops stacked up waiting to be quilted. As a result
I have had to embrace the long arm machine. I’ve been pleasantly surprised to find that it is also a lot of fun and full of its own learning challenges. But that
is a story for next time.
Let's Sew!!
October 6, 2025
Sewing the first stitches on a new quilt top invites a delightful array of possibilities. There is an exhilarating sense of excitement in starting something
completely new… new pattern, new fabric, and new hope that it will go smoothly and nothing will have to be ripped out, redone or reordered. Every quilter looks
forward to a new project. Sewing the fabric shapes together is called piecing the quilt, and the finished product is referred to as the quilt top because it is
the top layer of the actual quilt. Some quilt tops are very intricate and the piecing, while fun, can be tedious. As a side note, before I start piecing a
quilt top, I always make sure I have several bobbins filled for my machine, as it is terribly annoying to have to stop and wind them in the middle of the
project. While I’m on the topic of bobbins, why has no one invented a bobbin that is the same size as the thread spool? After all these years in the history of
sewing machines and all the advances that been made, why is the bobbin still so small? This is truly the eternal question of anyone who sews!
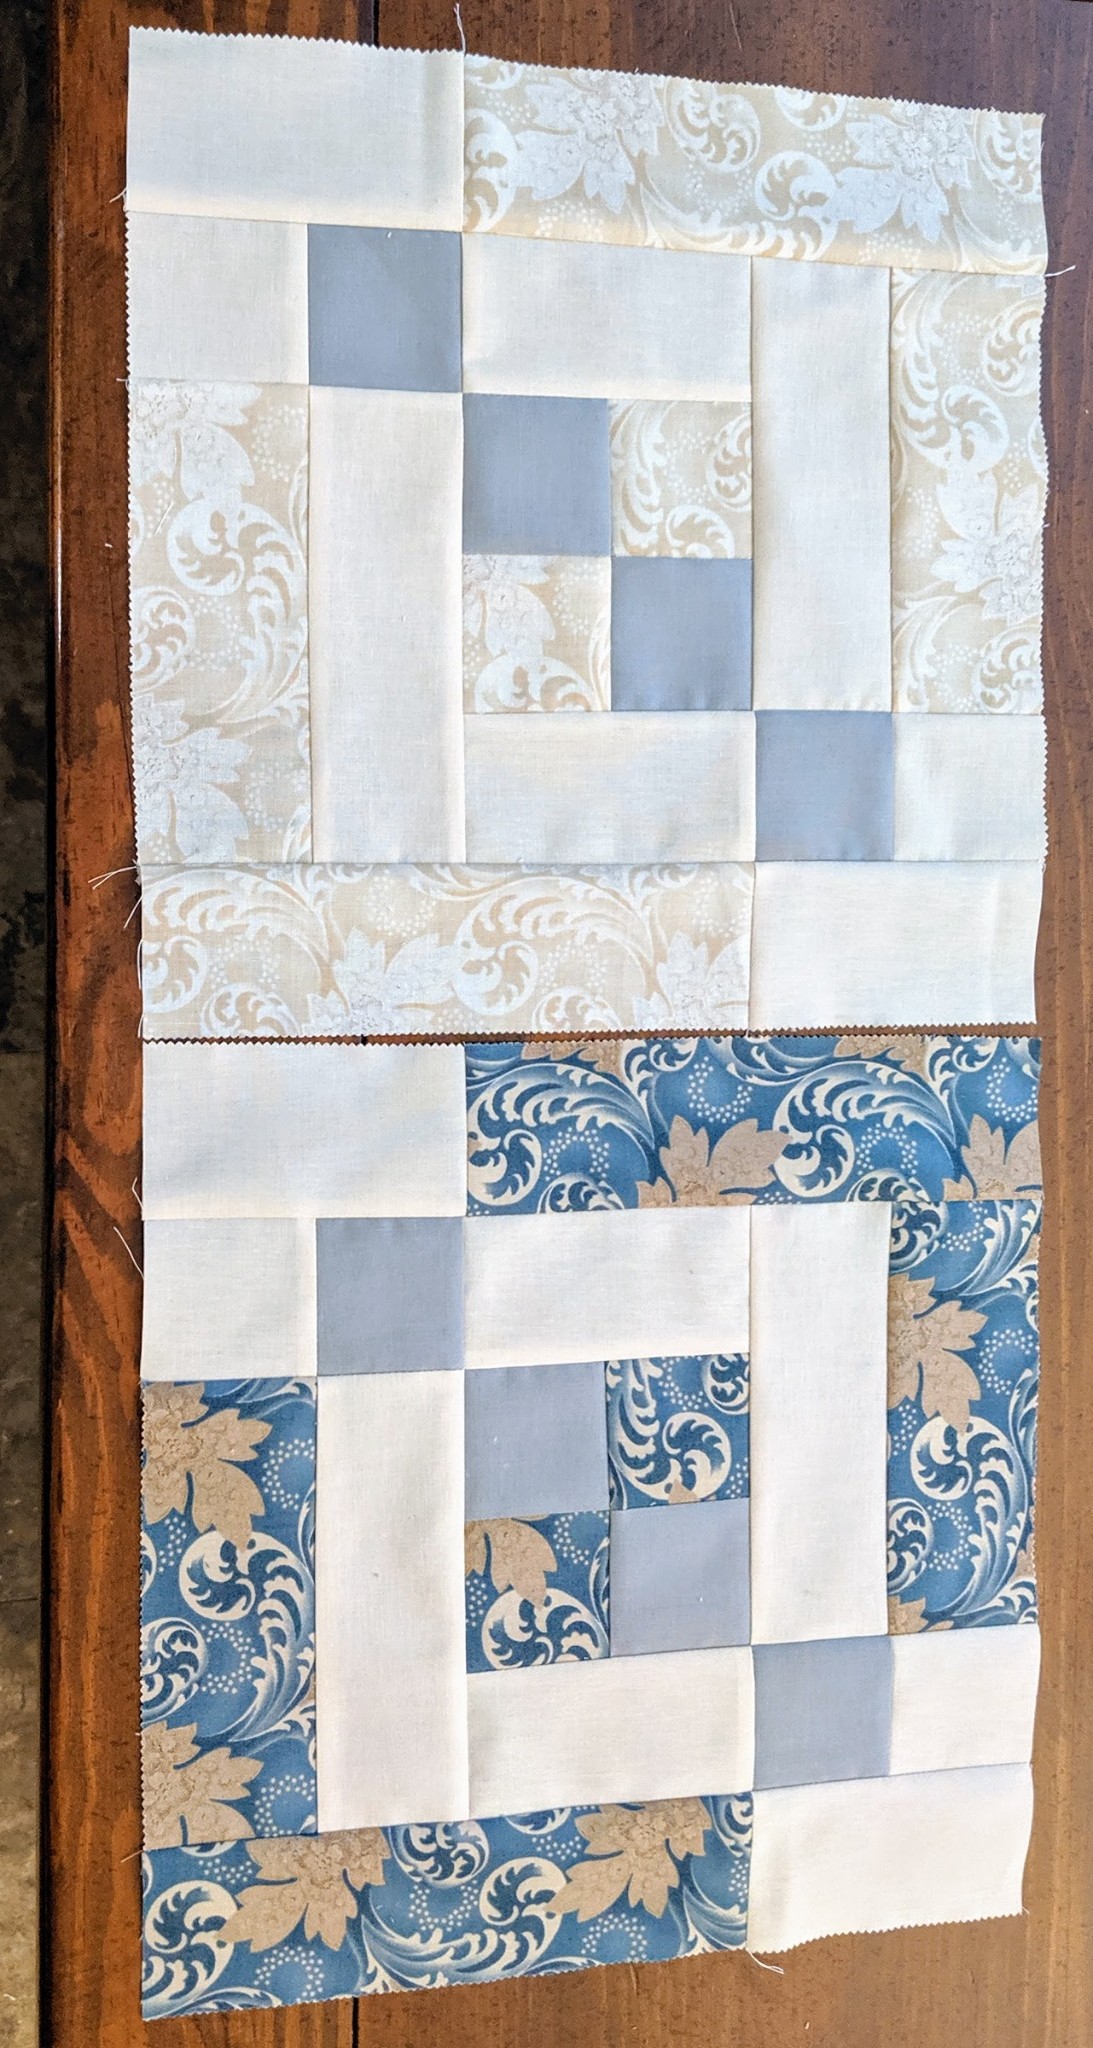
Traditional quilt tops are pieced by sewing fabric pieces into blocks, then sewing the blocks together to make the quilt top. Of course, there are lots of
techniques used to make the quilt top unique or to enhance the individual blocks; for example, adding sashing, cornerstones, borders or all three! Sashing is
the fabric strip that is often sewn between the blocks. These make the blocks stand out by separating them from each other. Borders are wonderful for bringing
focus to the design as a whole. They are also great if you would like to make the quilt top just a little bigger.
Quilters also use panels to make quilt tops. Panels are pictures printed on fabric, usually about 22 x 44 inches in size, though, some are smaller squares or
rectangles. They can be combined with borders, sashing, and individual blocks to make a full quilt. There are many panels with complimentary fabric collections
that work together to make beautiful and fun quilts.
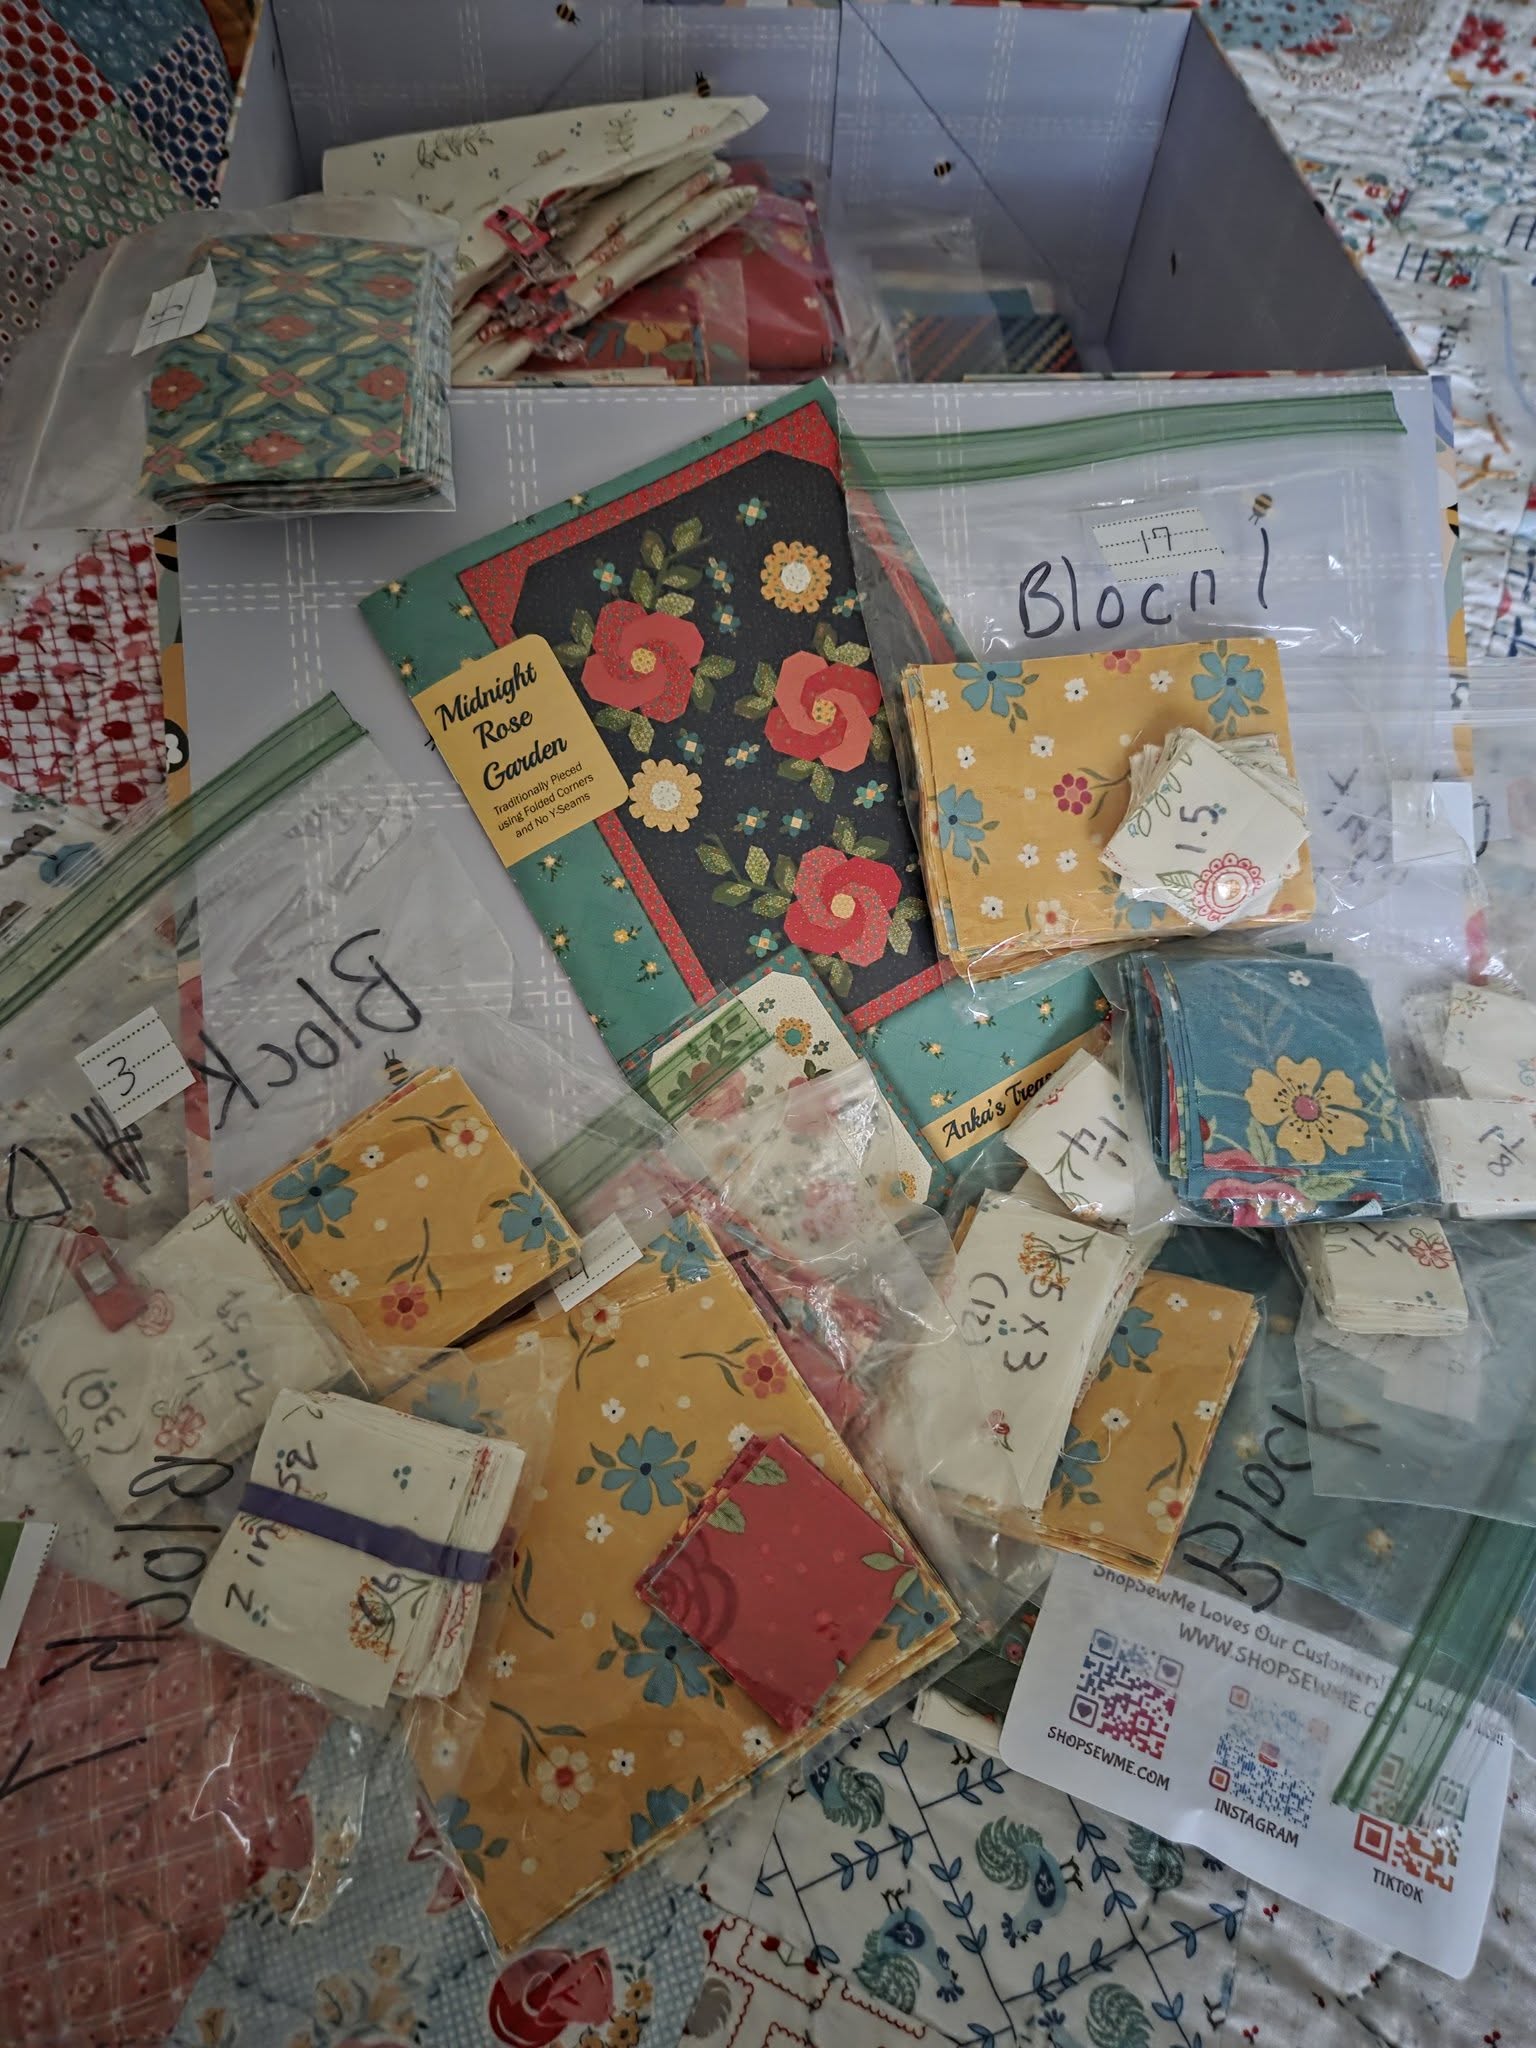
The time it takes to piece a quilt top varies depending on the difficulty of the pattern. Some are made up of many bits of small fabric pieces which make take
hours or days to put together. I have friends who have made amazing quilt blocks using 1-inch squares. Turning these squares into other shapes and putting them
all together to create a design takes considerable time, but the finished blocks are striking when they are put together. I am not an advanced quilter and these
intricate designs leave me frustrated, much like trying to do calculus when you’ve only learned basic math. Like anything else, it takes practice to advance and
I’m a work in progress. 😊
When sewing quilt pieces together, it is important to match up corners and edges as well as you can, and to press, not iron, each individual seam. Ironing can
cause the fabric to stretch and change shape, whereas pressing simply sets the threads. It can be tempting to skip this step, but don’t. Pressing is vital when
it comes to matching up corners and edges. Each piece you sew together influences the next step in quilt making. If the first seam is crooked, every step after
is going to be not quite right. When you consider that there may be 8 steps involved in making one square, each step may cause the block to be a little more
off.
Most quilters have other responsibilities and can’t sit at the sewing machine for hours each day, so more detailed quilt tops may take months to finish.
Fortunately, most quilt patterns are designated as beginner, intermediate, or advanced. I have found that these designations are pretty accurate. I tried to do
an intermediate pattern as my third quilt. That was some 75+ quilts ago. It is still unfinished. I do intermediate patterns on a regular basis now, so I suspect
that if I were to get it out, I would not be frustrated and my results would be much different, but, for now, it remains in a box awaiting a second chance.
When I have finished a quilt top, I feel so much satisfaction! Usually, I feel really proud of what I’ve created. Other times I’m just so grateful not to have
to look at it anymore – usually a sign that there was lots of ripping and redoing along the way. Every quilter can get discouraged while piecing a quilt,
especially if they are having difficulties of some kind and the top seems wonky in shape. In these situations, it’s really tempting to just fold it up and
shove it in the closet. But stick with it. There is a saying in the quilting world: a finished quilt is better than a perfect quilt. It’s a hard idea to
swallow sometimes, but it’s the truth, because no one but you will ever notice the small imperfections, and, in most cases, even you will forget where or what
they were over time.
So here is to sewing fun and finished quilt tops. Did I mention that I have 2 quilt tops cut out and ready to go? I just need life to slow down a bit so I can
get to work! Happy piecing!
Woohoo! Time to Cut!!
September 28, 2025
When you think about it, quilting is simply cutting fabric into little pieces so we can sew them back together again. An alien being would think we were crazy.
But that is exactly what quilting is. You’ve picked out lovely fabrics that coordinate and enhance each other as you rearrange and organize them into patterns
to sew the quilt.
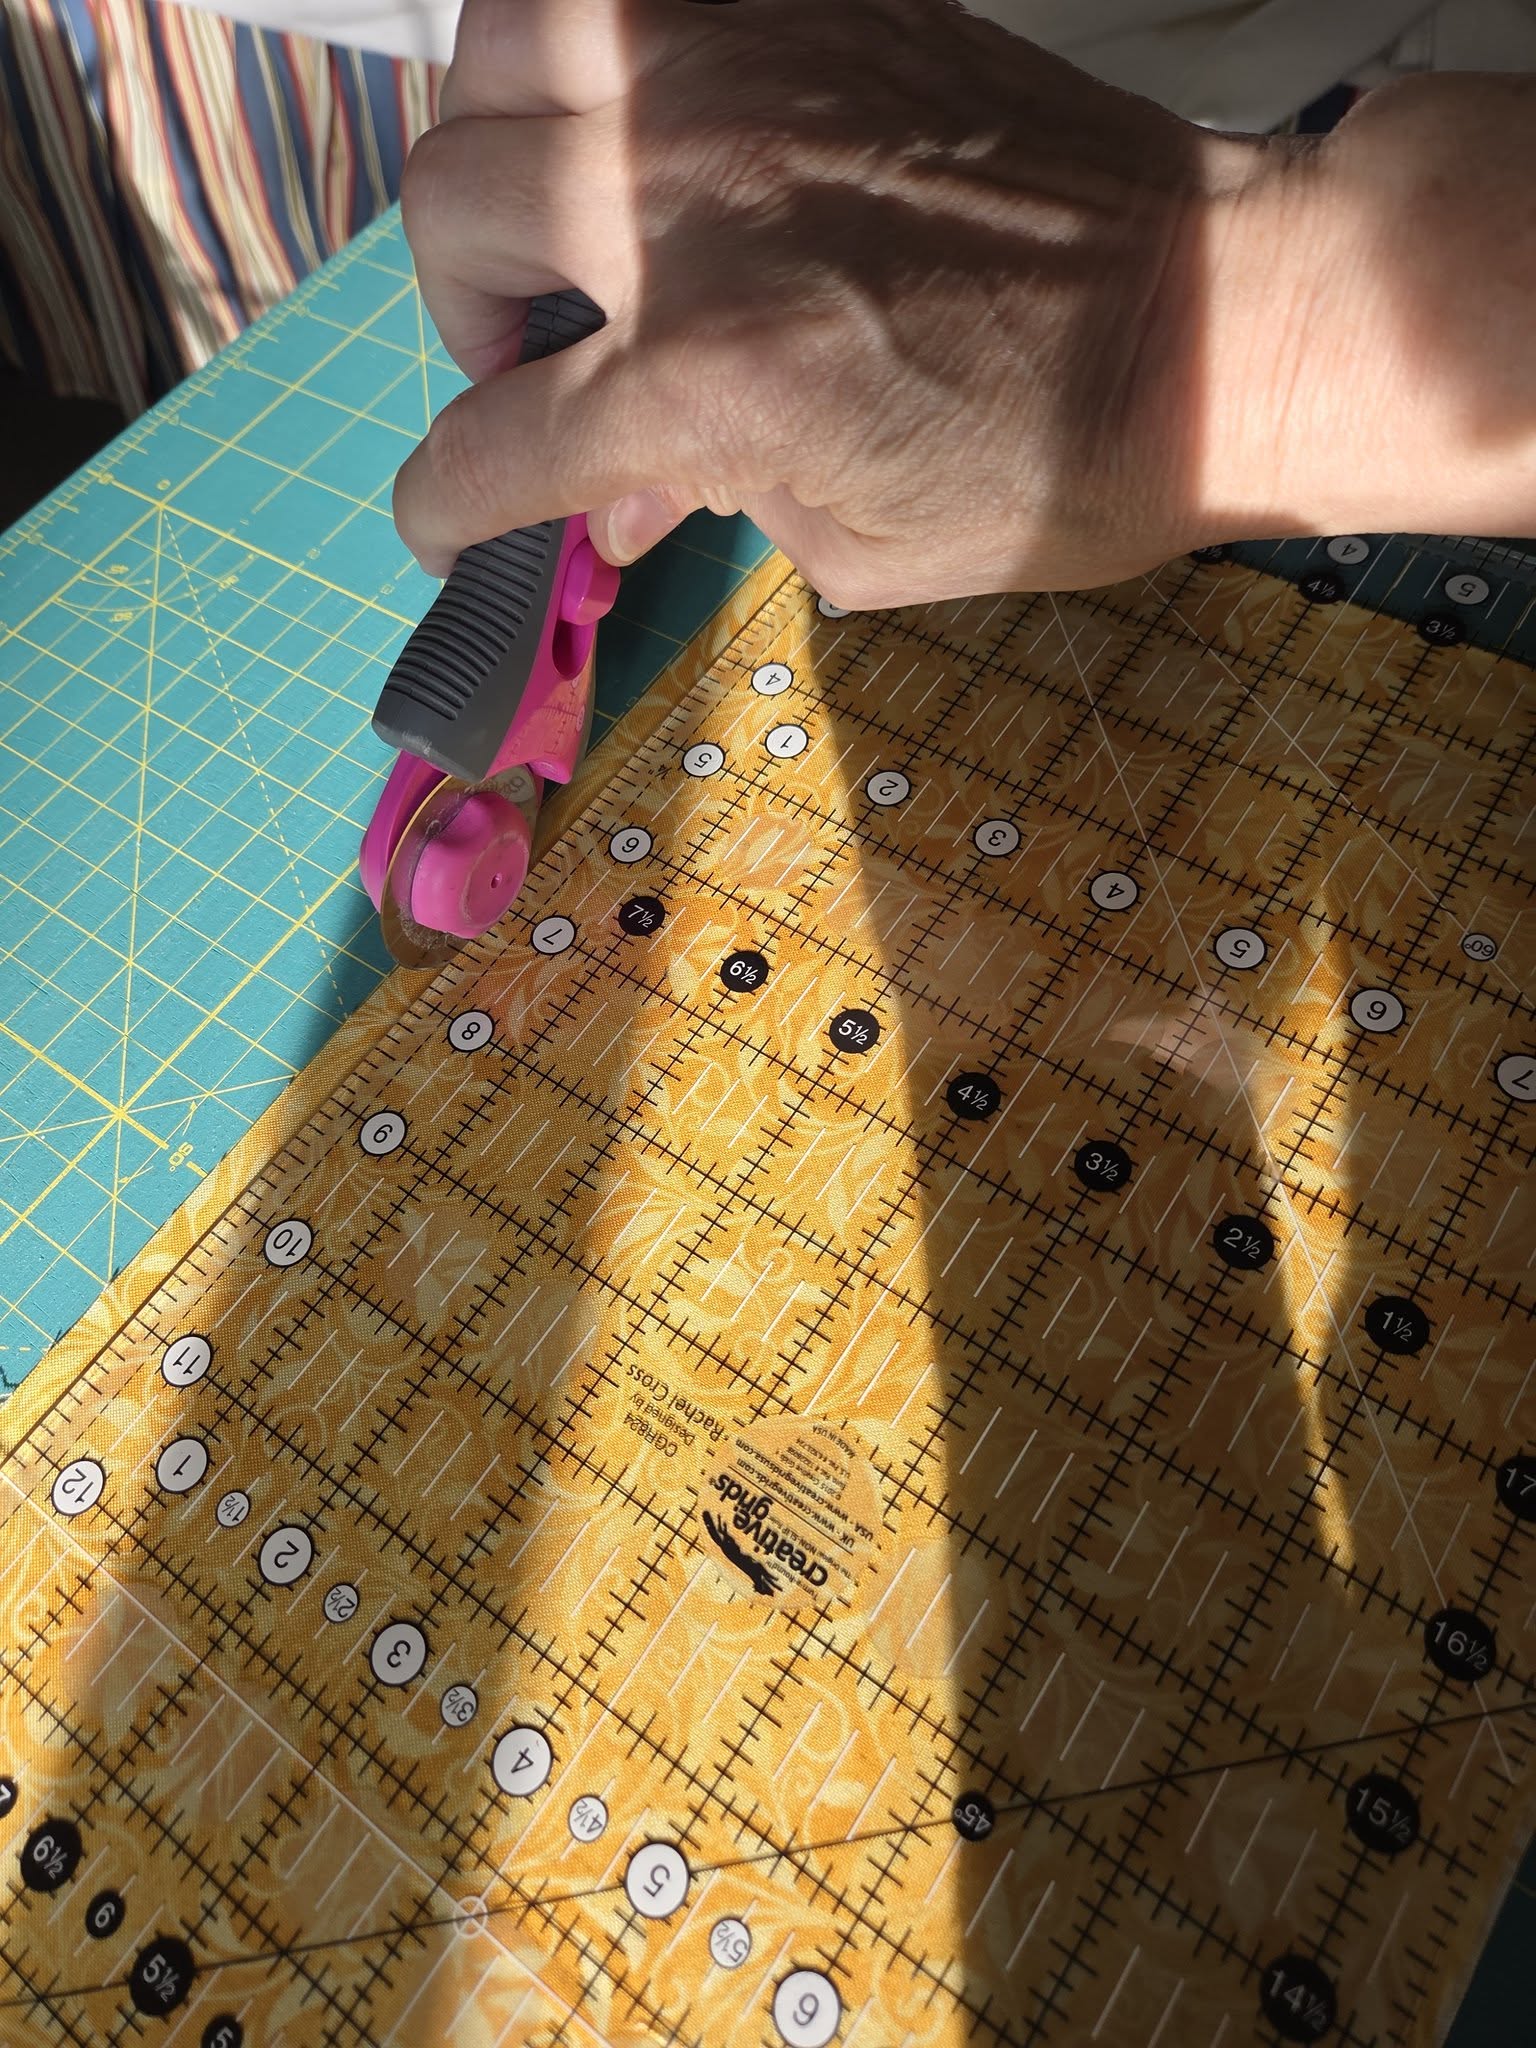
In order to cut quilting fabrics, there are some important tools you must have. Quilters use rotary cutters more often than regular scissors. These are round
blades encased in a tool with a handle that you roll along the edge of a ruler to cut straight lines. (Make sure you have a self-healing mat on your cutting
surface so you don’t destroy the furniture on which you are working!) Rotary cutters are absolutely necessary because the cut edges of your fabric must be
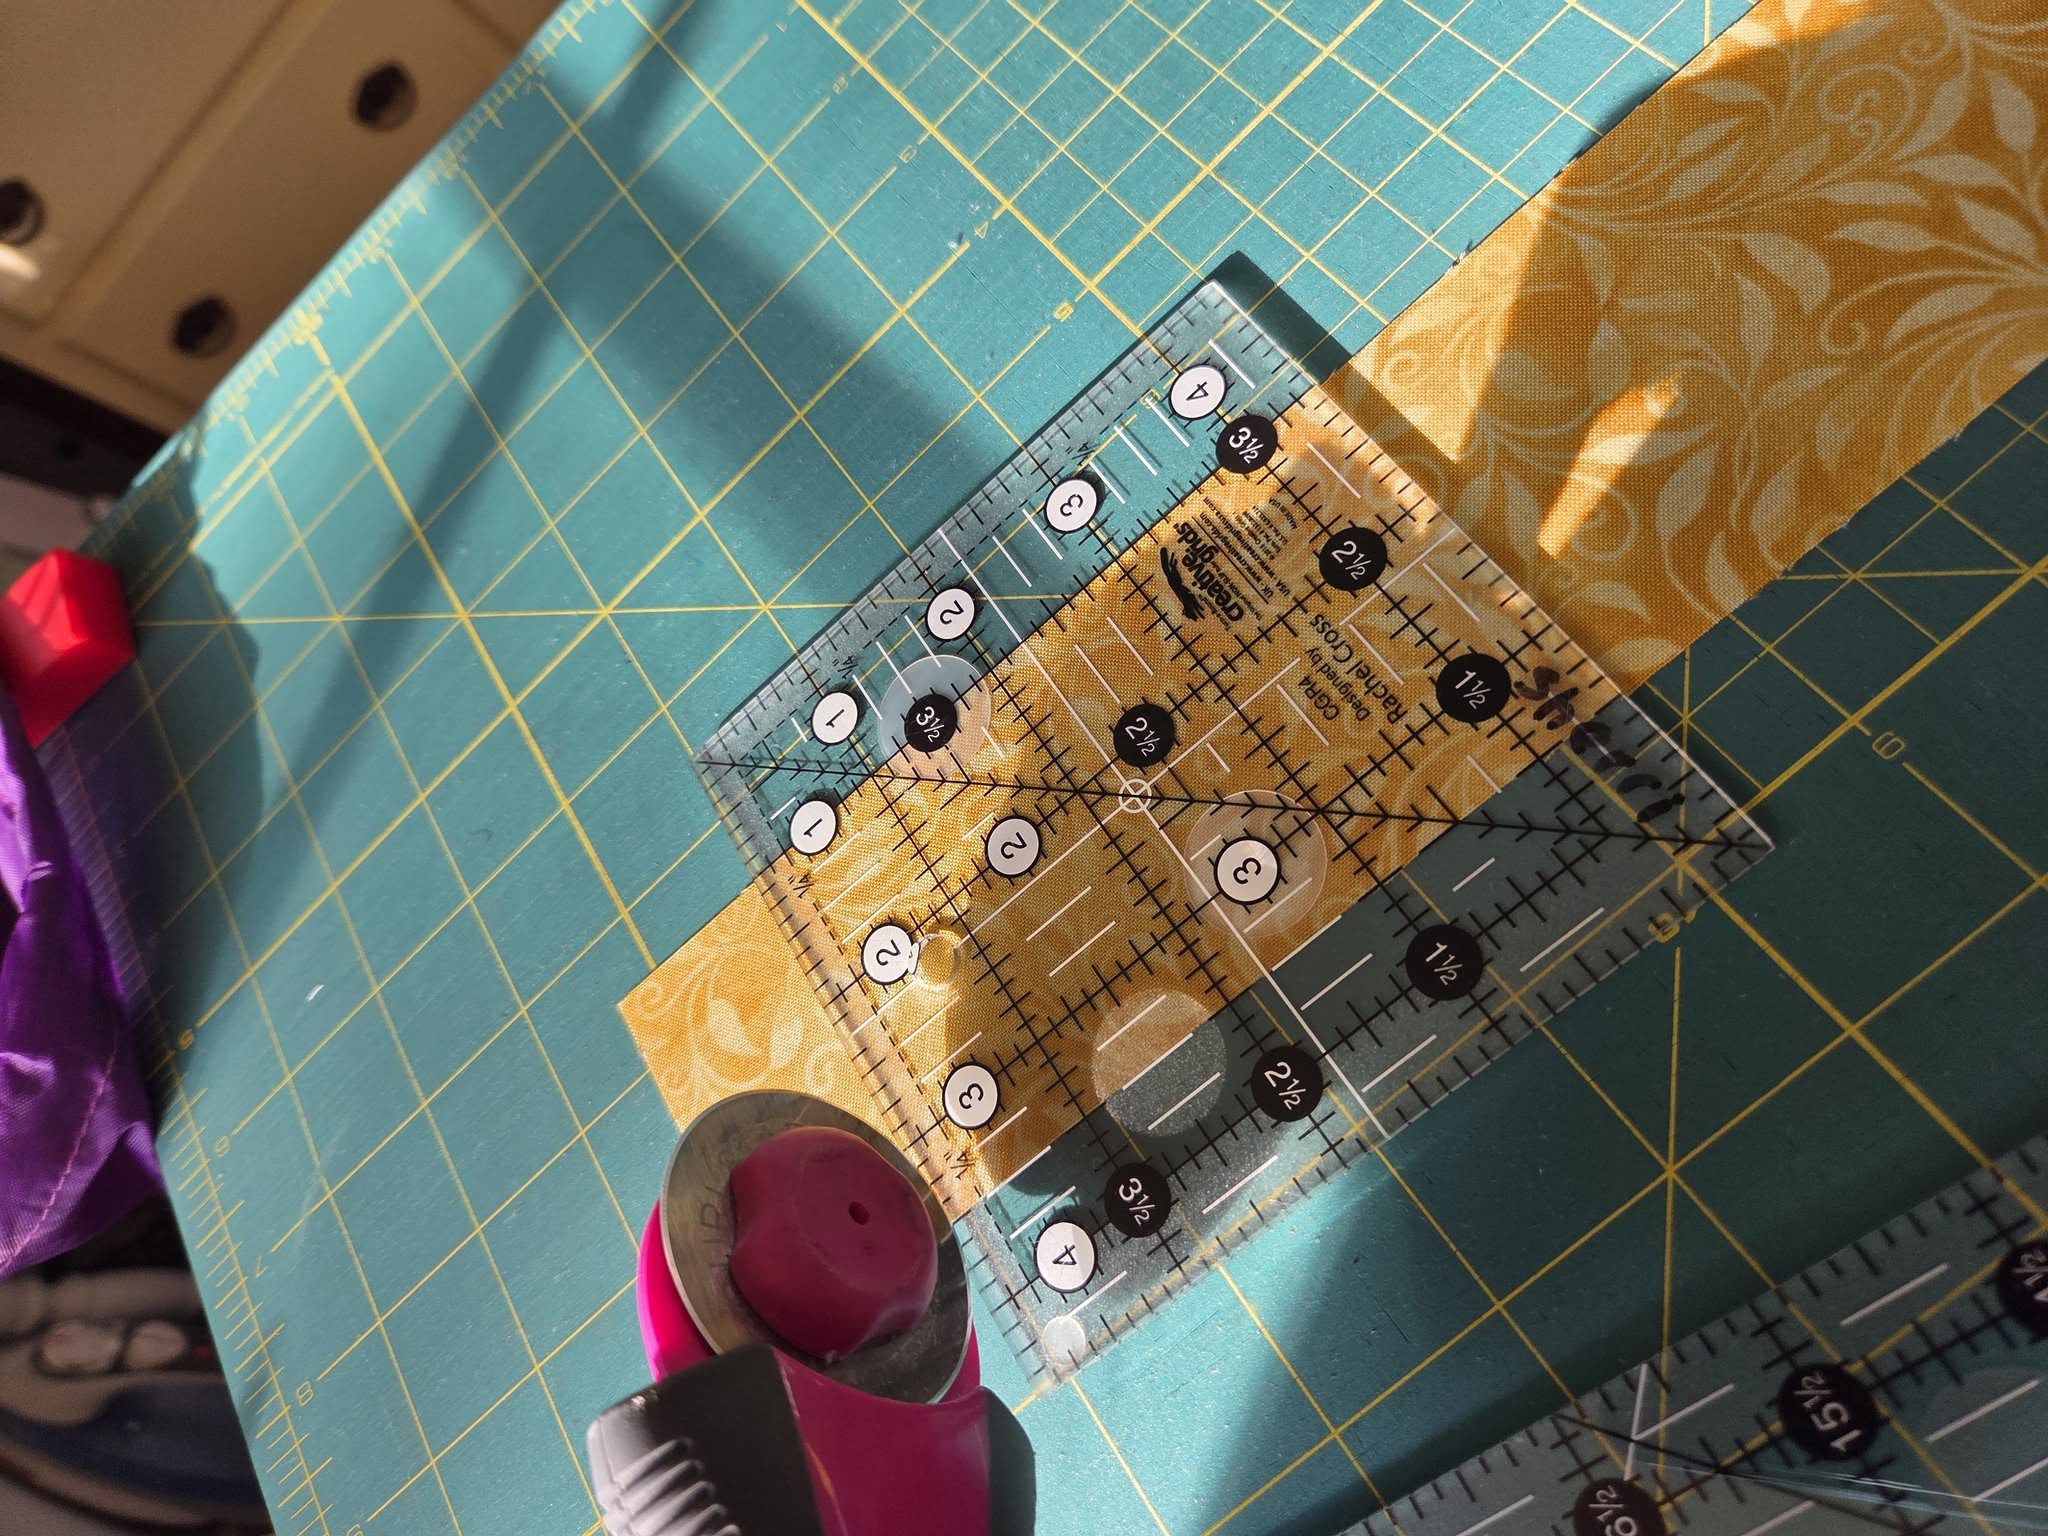
precise. Quilters typically have quite the collection of rulers. These rulers are clearly marked and can be used in any direction. They come in a variety of
sizes and shapes and are found in the fabric/notions sections of stores. One might ask, why you need more than one ruler. Some rulers have specific purposes
and without that particular ruler, your quilt project will be much more difficult. Some rulers are needed for cutting out larger strips of fabric, but smaller
ones are more easily managed when cutting small pieces.
Once you’ve gathered all of your tools, it is time to cut. Quilting requires very precise cutting. If the pieces are not exactly the right size, they will not
fit properly when it is time to start sewing the pieces together. Cutting is tedious and takes a lot of concentration. Quilters are such positive thinkers, we
don’t usually buy extra fabric so if we make a mistake, we have to buy more, sometimes requiring an online purchase which takes a few days to arrive. I won’t
mention the nightmare resulting when your fabric has been discontinued and is impossible to find anywhere.
Whoops! I mentioned it.
Anyway, it is important that you cut the pieces are as close to perfect as you can make them. I will point out that my pieces are seldom perfect no matter how
hard I try. Fortunately, quilting is a little forgiving. Don’t let lack of perfection stop you from attempting this great hobby. Cutting takes practice just
like any other skill.
Cutting also takes a lot of time, often several hours, or even days. The longest it has ever taken me to cut out a single quilt was 13 hours over a two-day
period (that was strictly cutting time.) That one had a LOT of little pieces, but it is nothing to spend 5-8 hours cutting the pieces for a quilt top. Imagine
cutting 240 one-inch squares. Aaargh!!
I used to hate cutting, but have found that it is actually kind of peaceful, especially with a good audio book going in the background. So gather your tools,
find some good music or a good audiobook and start cutting.
All Fabric is Not Created Equal!
September 19, 2025
What is the difference between fabrics bought at Wal-Mart, Hobby Lobby, and a specialty quilt store. There is definitely a difference. Does this mean that you
cannot make a good quality quilt from Wal-Mart fabric? Absolutely not. I’ve seen some lovely quilts made using fabric from both Wal-Mart and Hobby Lobby. I
regularly peruse the fabric department at both of these places and have sewn many quilts from fabric I bought there.
That said, quilting fabric made of 100% cotton is definitely of a higher quality. It has a higher thread count (threads per inch) allowing for a tighter weave
which makes it more dense. You can actually feel the difference when you touch the fabric. Also, quilt-quality fabric is made using longer staple cotton
fibers so it is less likely to fray and allows more precision in the cutting of pieces. All of these make your quilt more durable in standing up to daily wear
and tear. Consider the toddler that drags his/her quilt all over the house, using it for multiple purposes.
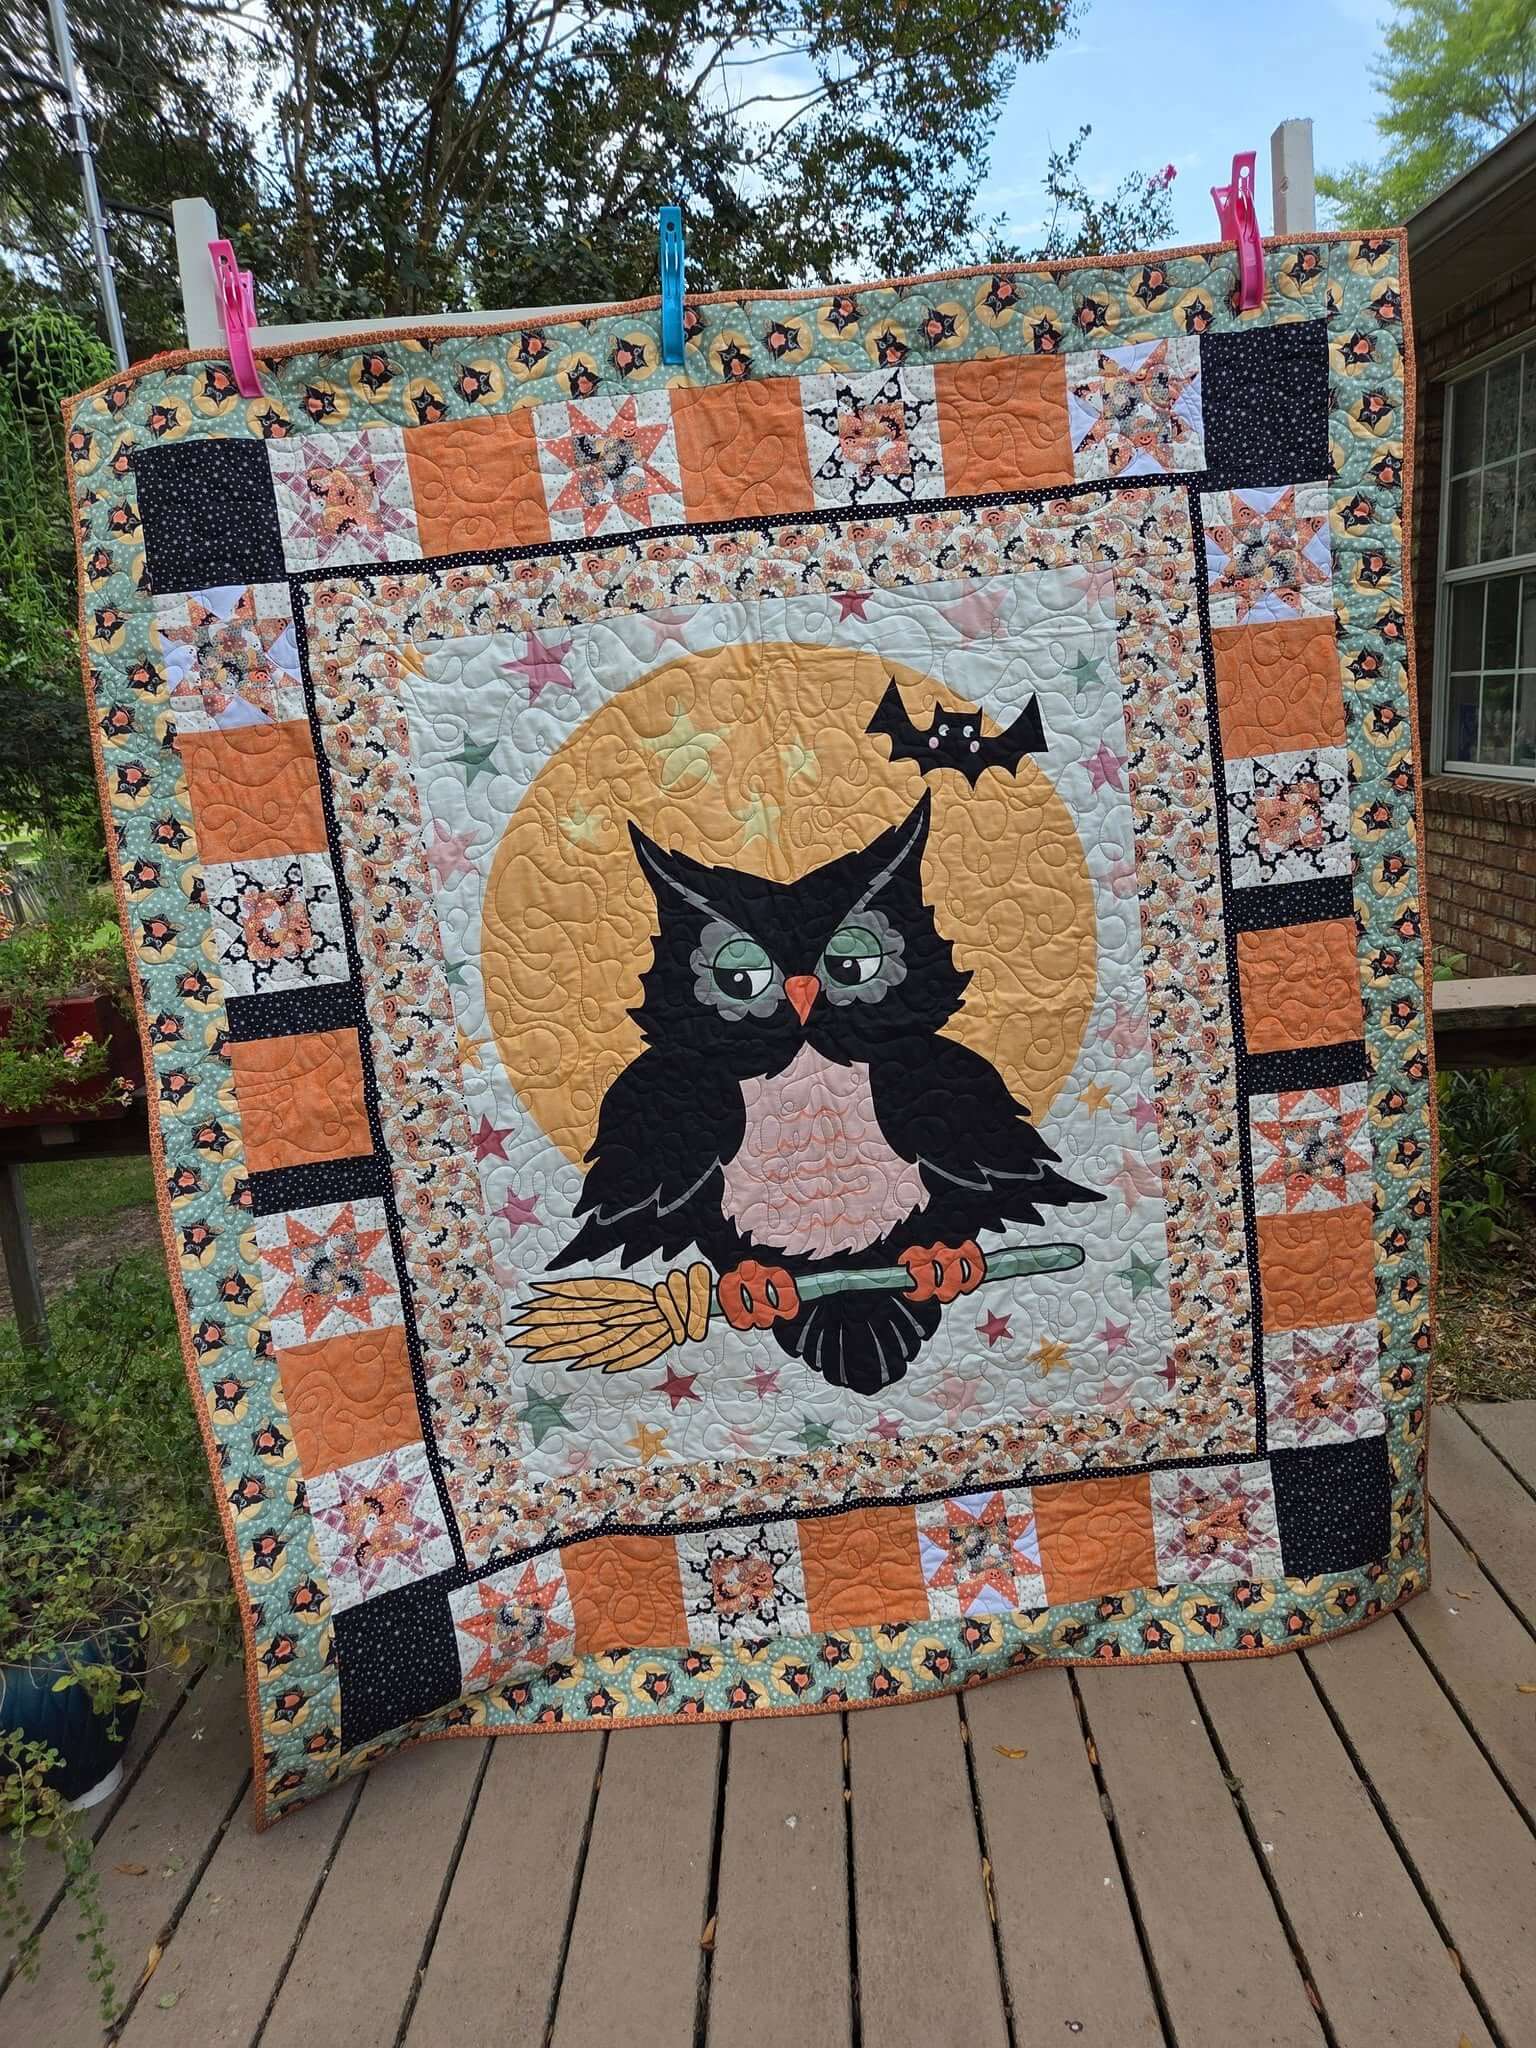
I did a little rearranging today and brought in some fall quilts. If you like Halloween, check out the Owl O'Ween quilt.
Choosing Fabrics
September 13, 2025
Quilters love fabric. They especially love unique and new styles of fabrics. They have no qualms about traveling great distances to find the best fabric at
the best price and it is not unusual for them to track the locations of quilt stores when they take a trip so they can stop at all of them on the way.
Sometimes the vacation is planned with the quilt stores in mind. Don’t believe me? Ask my husband, who had to trek all over Hungarian, Austrian, and German
villages in search of the fabric stores when we took a river cruise last year. Sometimes, the vacation IS the quilt store!
Fabric companies release fabrics as collections to make it easier to find complimentary pieces with which to make a quilt. Most collections have about 20
coordinating fabrics, however, it is really fun to wander around shopping different collections for a project. We can’t help ourselves when we fall in love
with a piece of fabric. We have to have it. But if you don’t have a project in mind, what do you do? How much do you get? I usually buy a yard. I like making
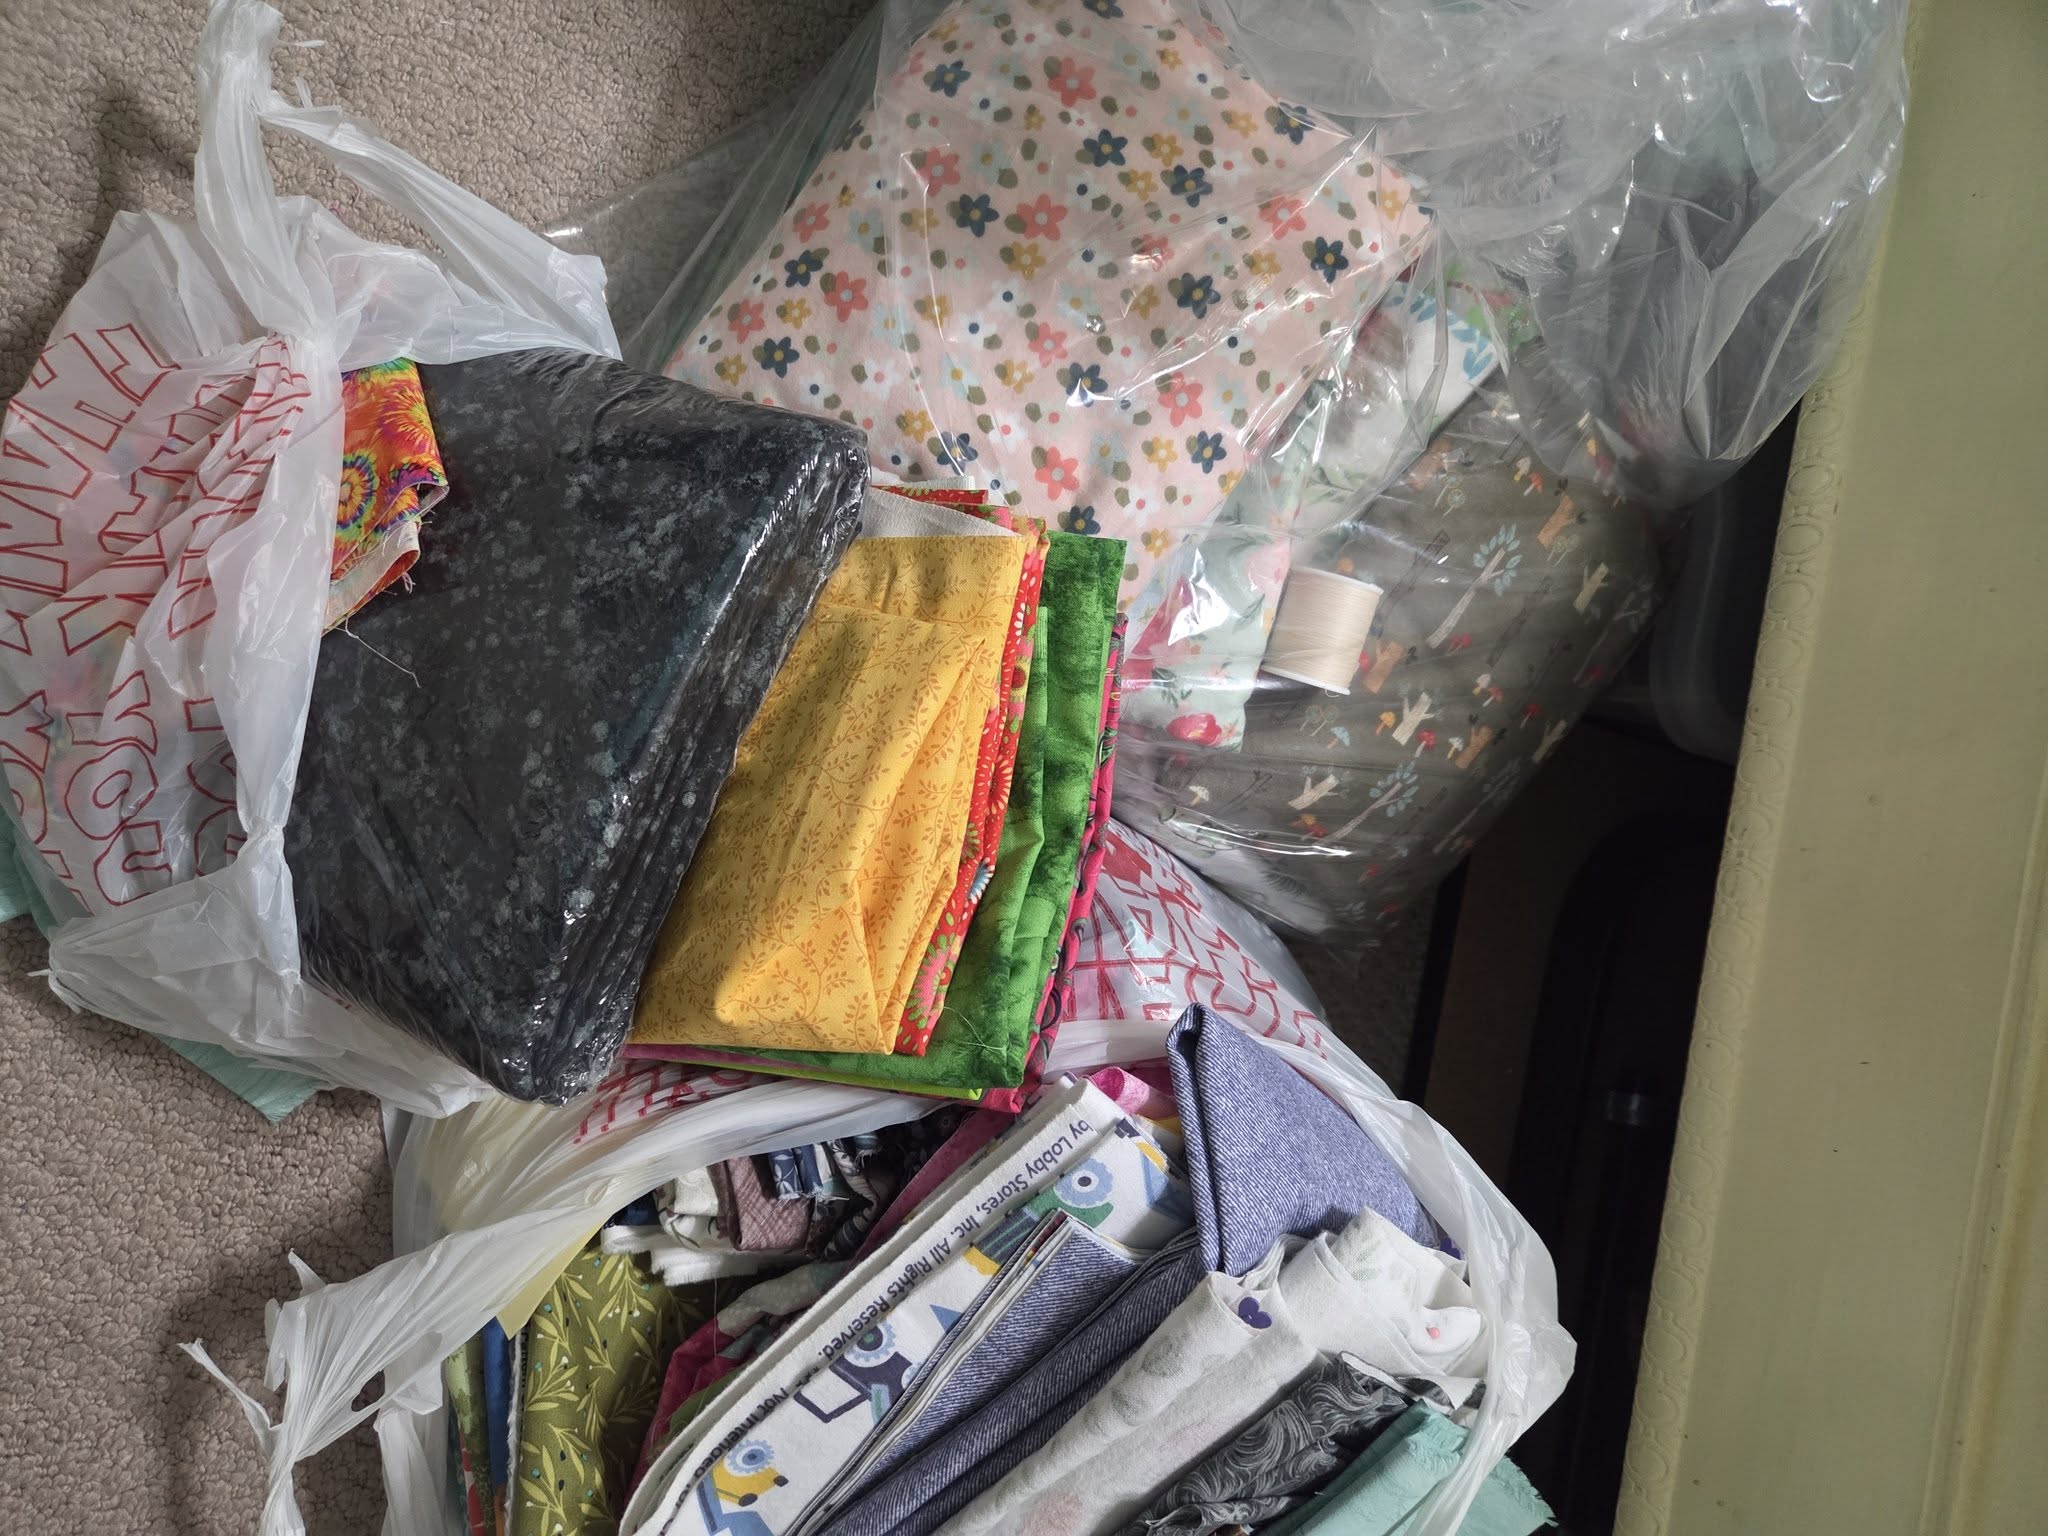
Three Yard Quilts so I know if I set this aside, I’ll eventually find two other yards to use with it. Hence The Stash!
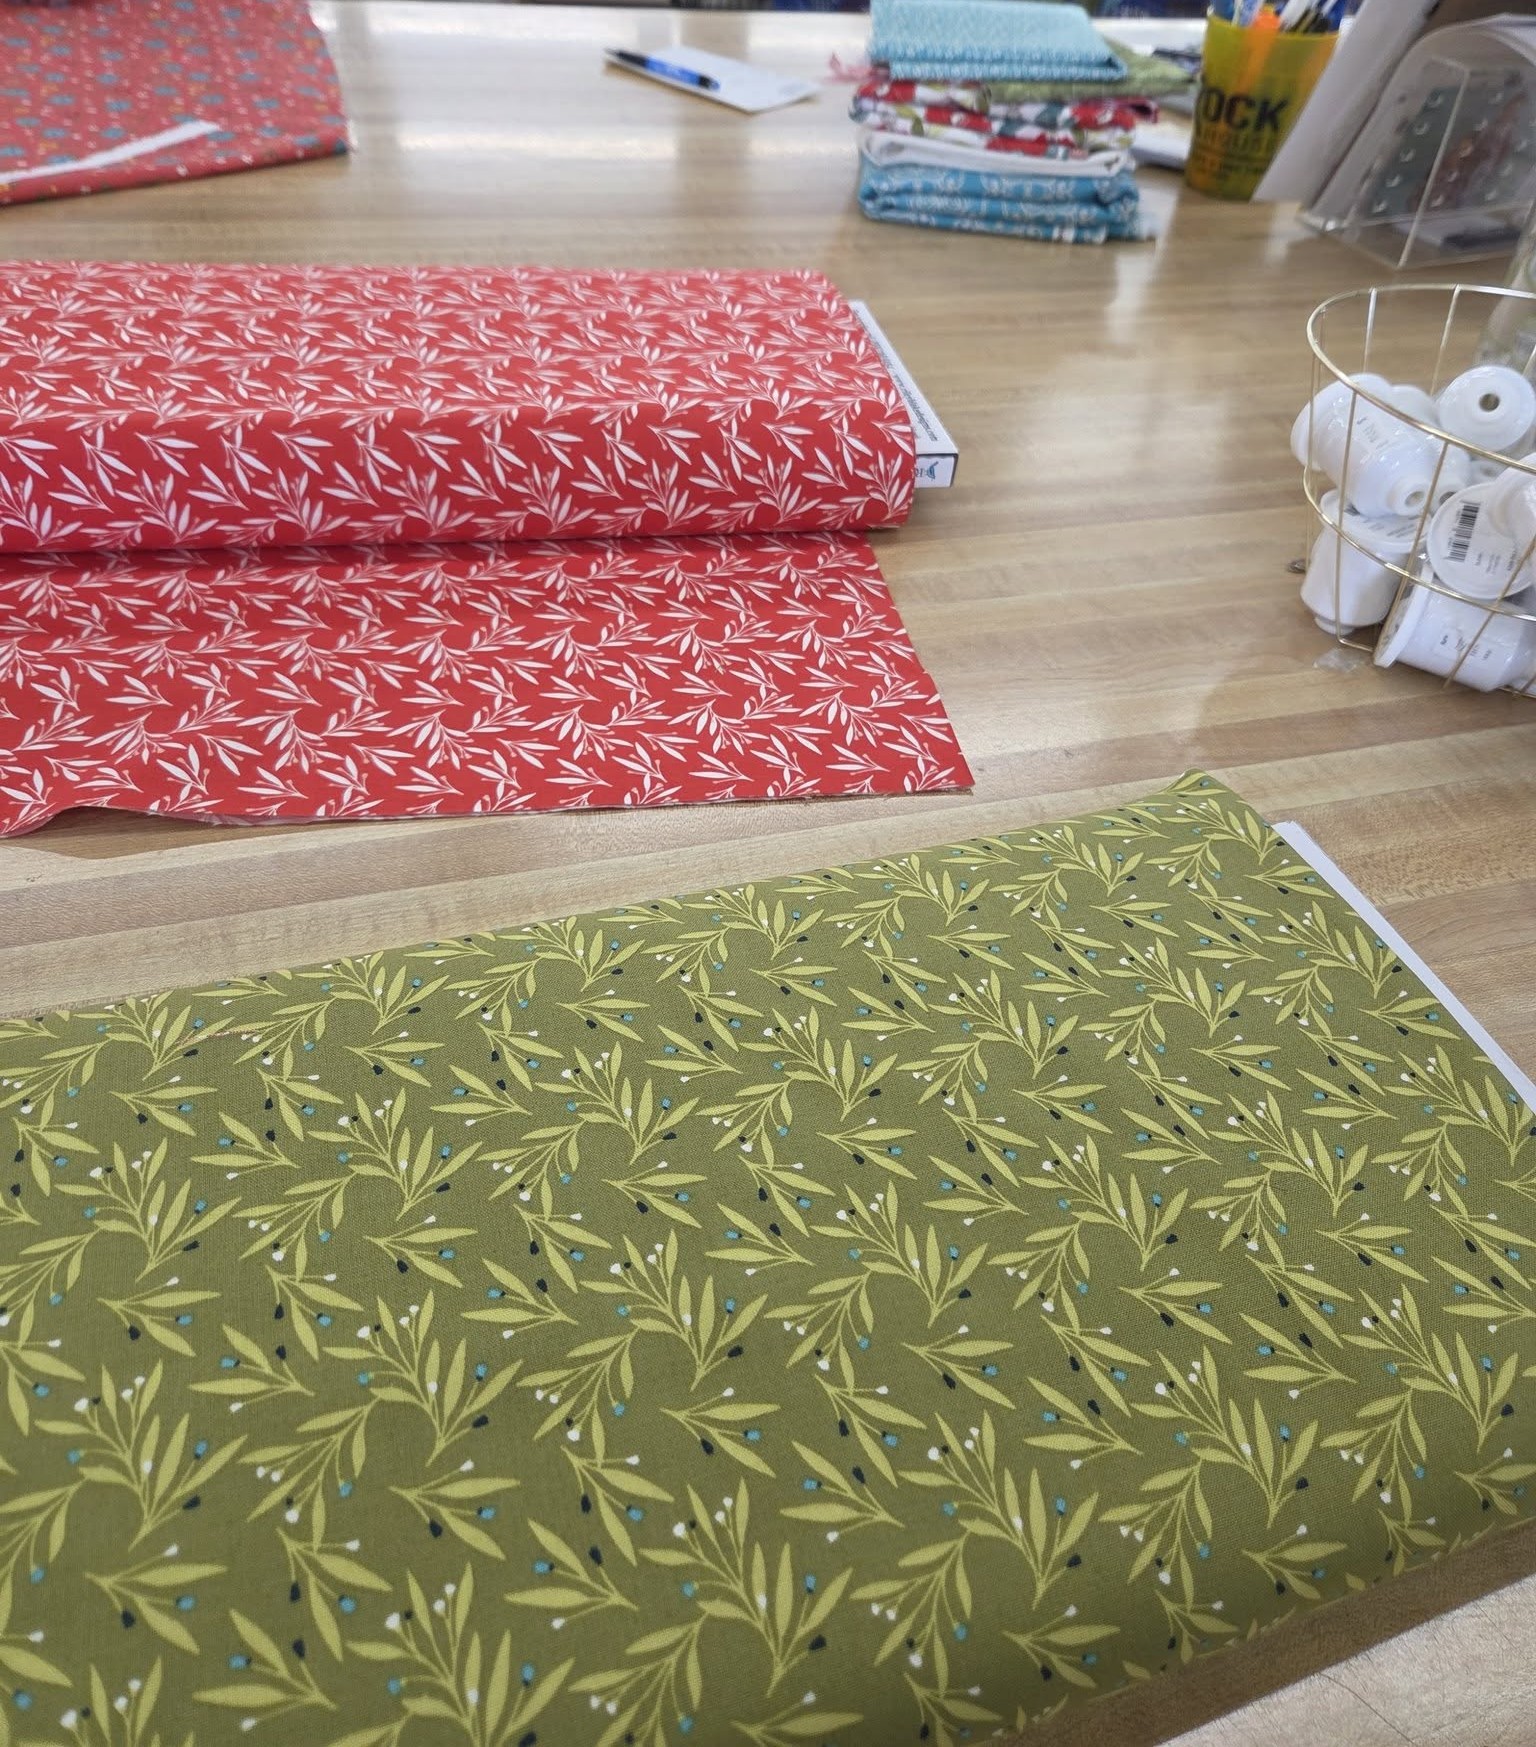
Last week I had two patterns for which I want to purchase fabric. One of them required 4 fabrics of one color, but with different patterns and three fabrics
of a second color but with different patterns. I went through three different sets of color pallets before finally settling on orange and green. Picking out
fabrics is one of the most fun parts of quilting, but it can be time consuming. Not that we quilters mind spending hours in a fabric store. It’s our idea of
a perfect day. Sometimes we travel great distances to find good fabric stores. For example, I drove five hours to Arkansas to visit my favorite fabric store
last week and spent a good five hours wandering through the store and picking fabrics. During the first three hours, I finished my first wave of fabric
selection… backing fabrics and flannel yardage. Then I took a lunch break and went back for wave 2… fabrics for new quilt tops. I spent all day “playing” with
fabrics. Even better, I had a quilting friend with me. It was a great day.
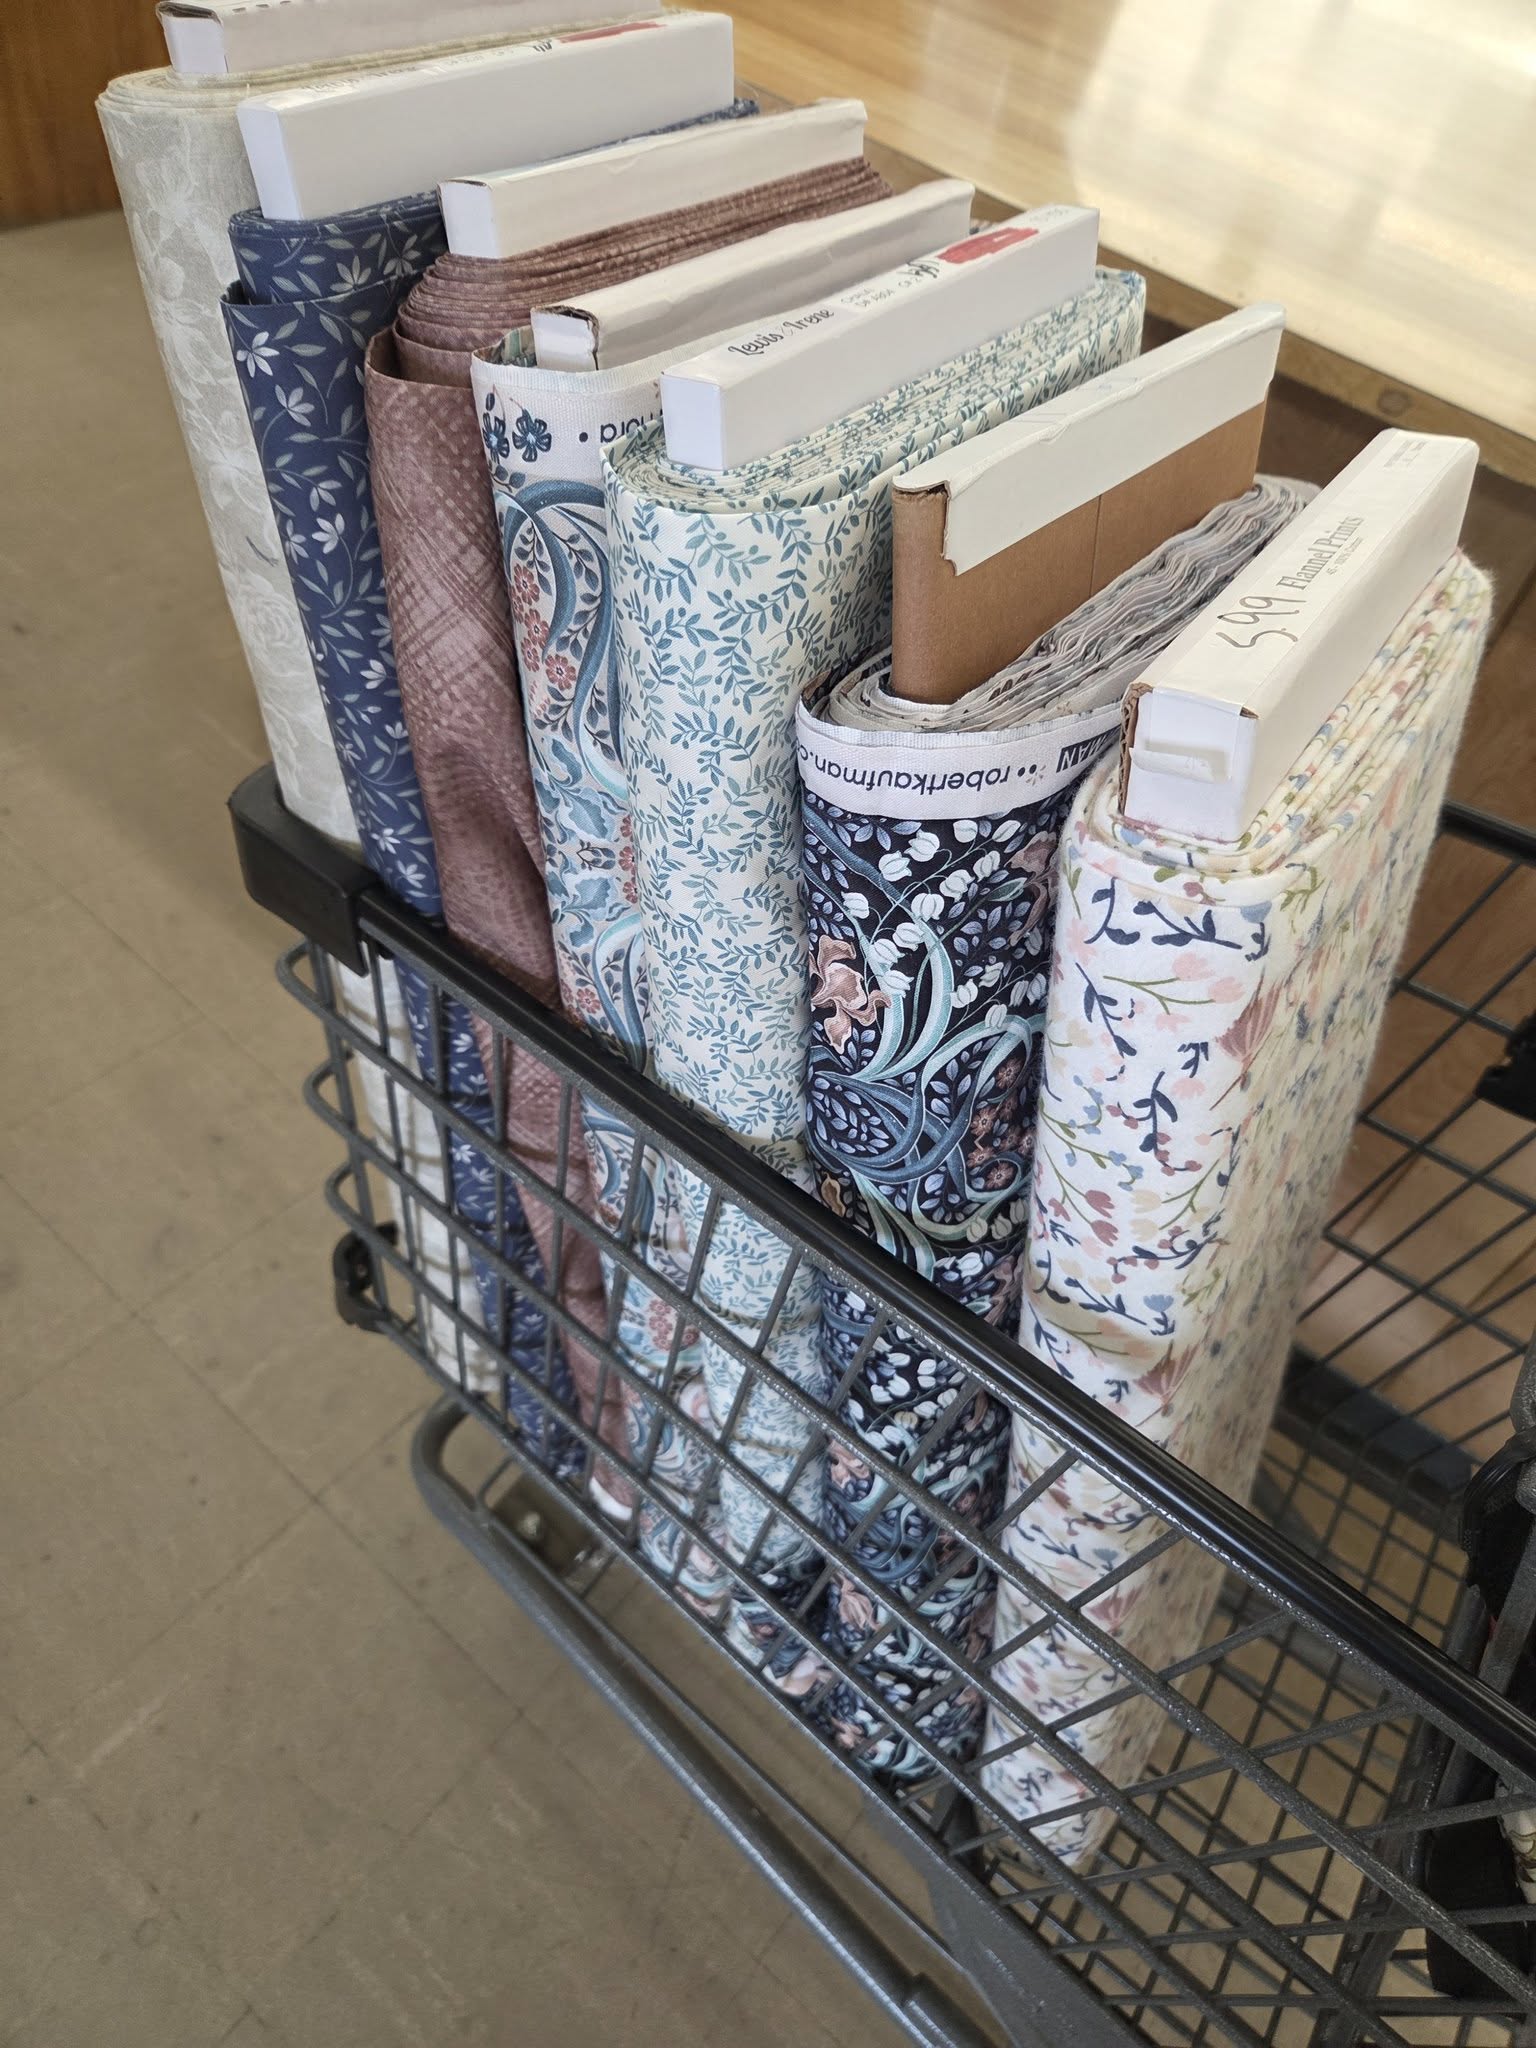
The first picture shows six fabrics I picked from a collection. You'll notice that there are big prints, textured prints, and small prints, There were also
stripes and dots, and other floral prints, but I only needed six (the seventh bolt is a random extra.)
What comes first -- the fabric or the pattern?
September 6, 2025
Nothing lights up a quilter like the promise of a fabric store that specializes in quilting. We can get lost for hours in the colors, patterns, and beauty of
fabric collections. Picking out fabrics is by far one of the most fun aspects of quilting. This is the reason quilters have such a big fabric stash, but,
like anything else, fabric collections have seasons. What is available one year, won’t necessarily be available the next, so I’ve found that it’s best to
just buy it if I love it. Eventually I’ll find a project for which to use it. I’ve been disappointed a few times when I waited too late to order certain
fabrics and then couldn’t get them at all.
Often it is a pattern that catches our eye which sends us to the fabric store. There are thousands of different quilt patterns available. Some are expensive,
some reasonable, some are even free. In each of those categories, there are patterns that are very user friendly, some that expect prior knowledge of
quilting, and some that are so poorly written, even experienced quilters shy away from them. If you quilt for even a short time, you’ll start recognizing
which designers have the best instructions—and which have the worst. Sometimes that makes the difference between a successful and enjoyable quilt-making
experience and a miserable one that can doom any future quilt-making.